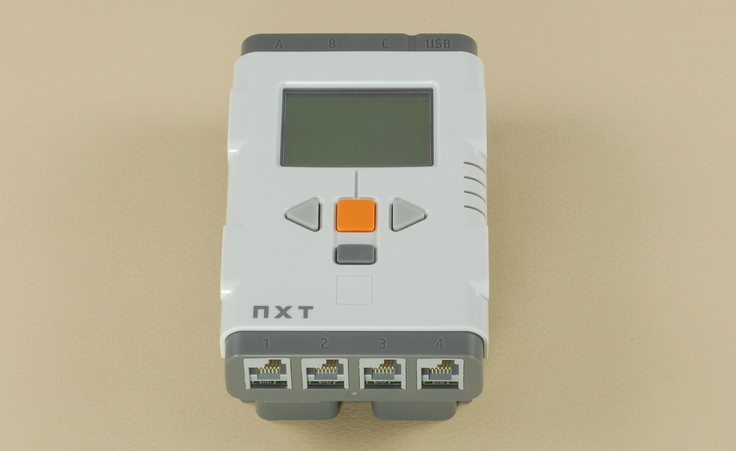
Fun Projects for your LEGO® MINDSTORMS® NXT!
|
|
Fun Projects for your LEGO® MINDSTORMS® NXT! |
| Santa and Rudolph |
|
![]()
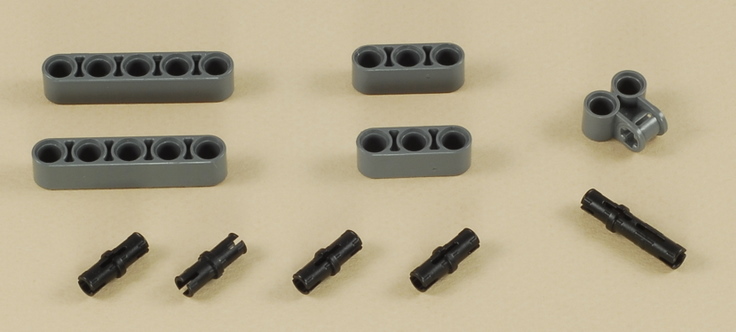
1
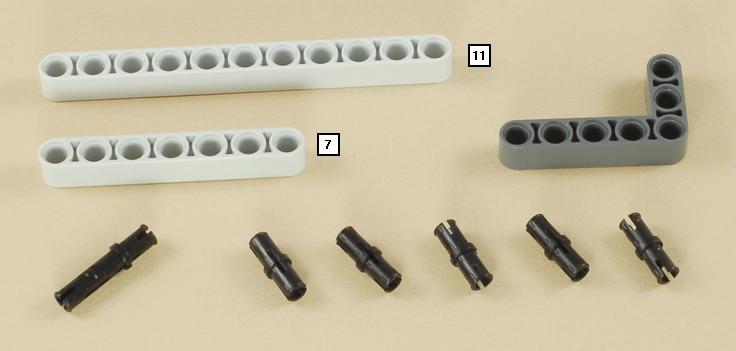

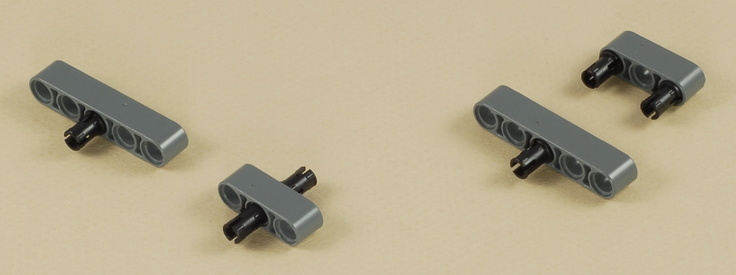
2
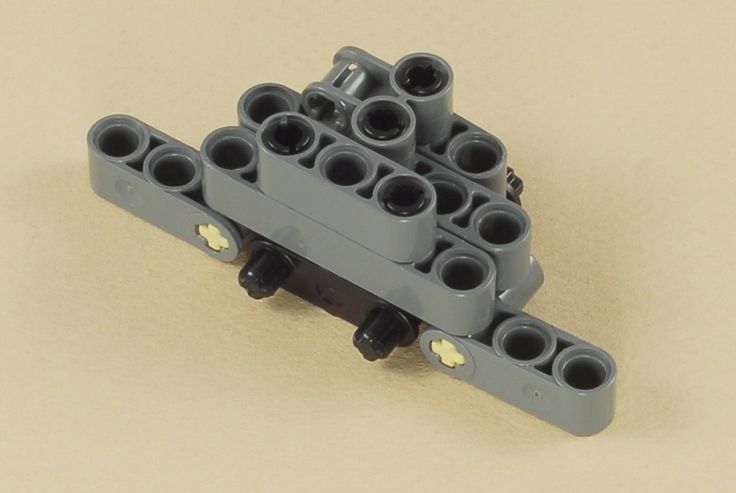
3
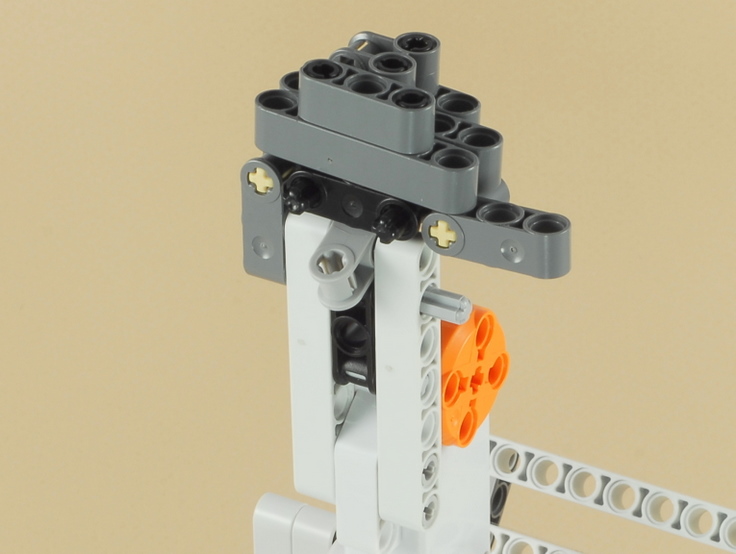
4
5

6
7
8

9
10
11
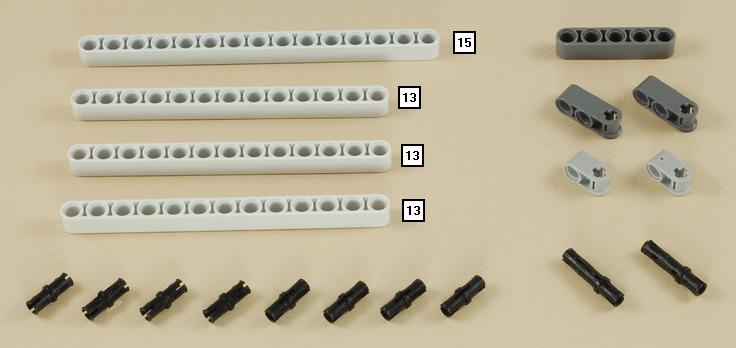
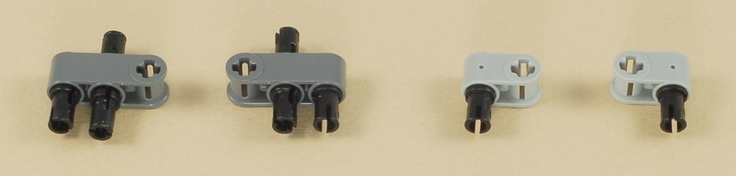
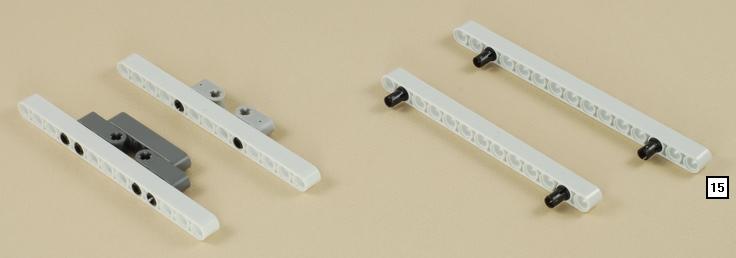
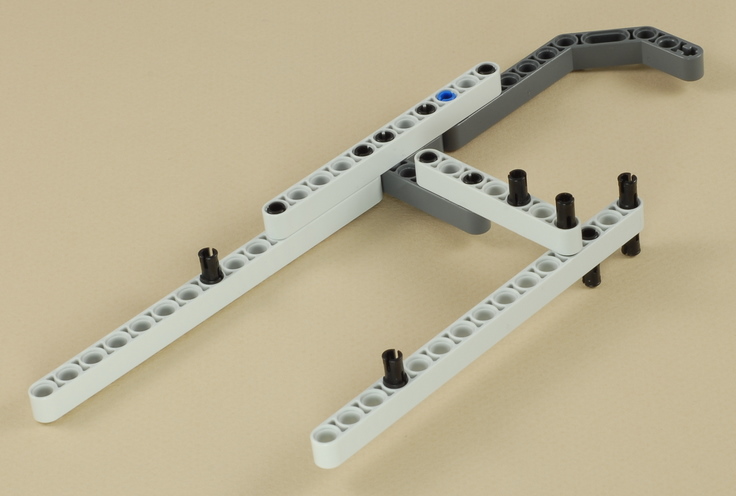
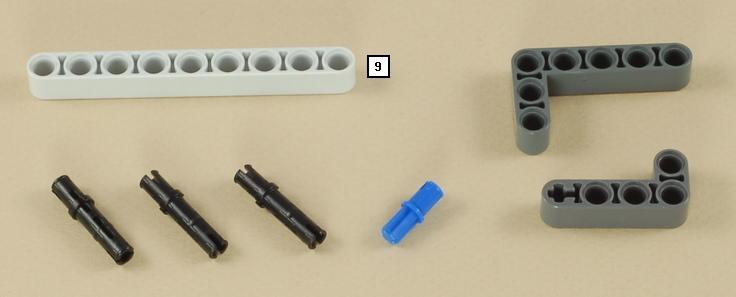
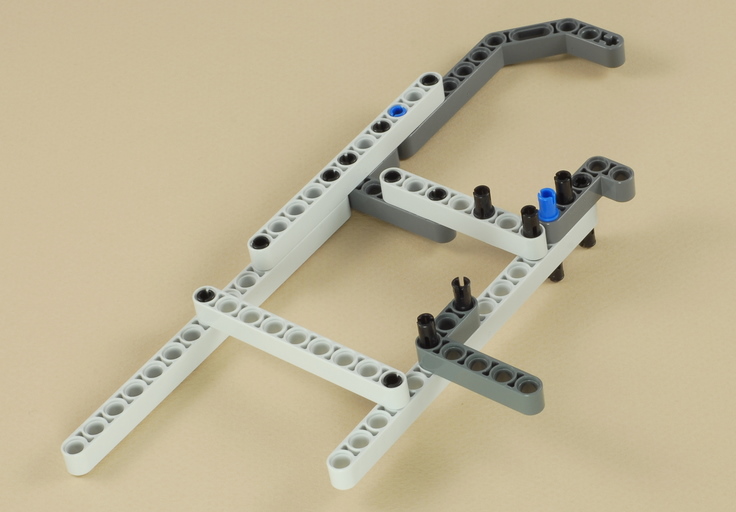
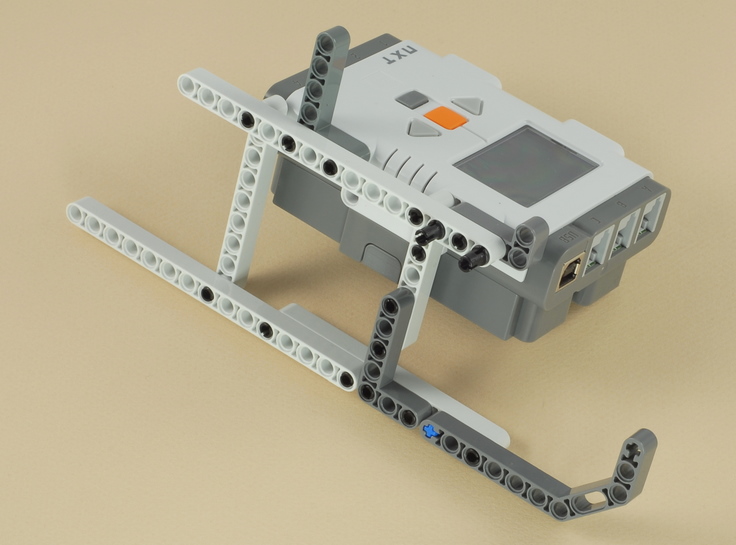
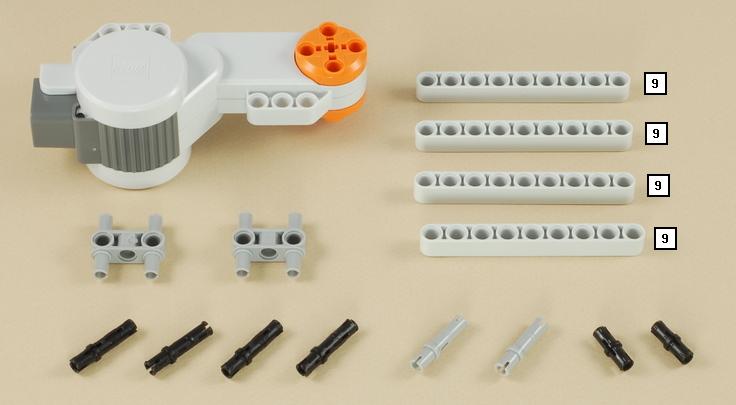
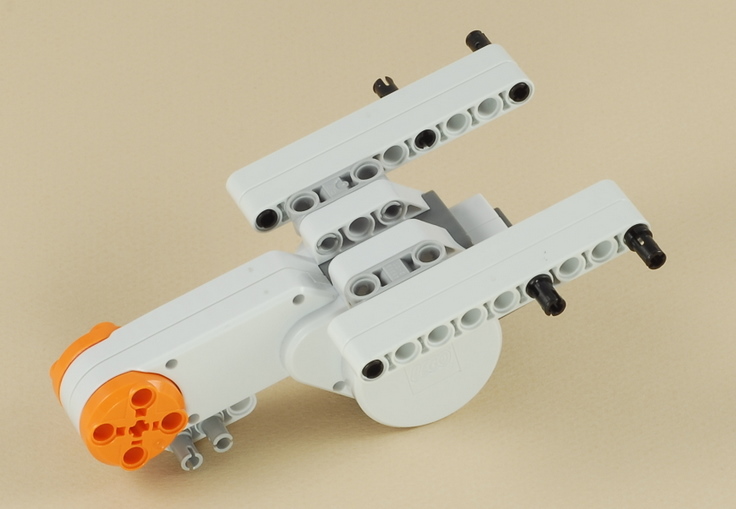
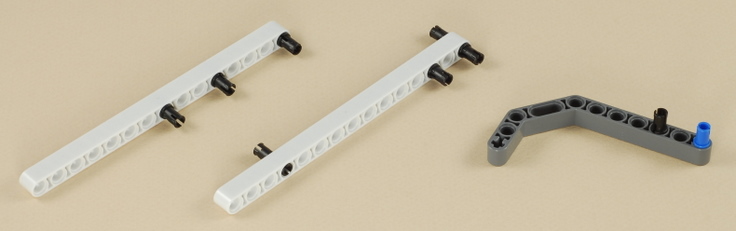
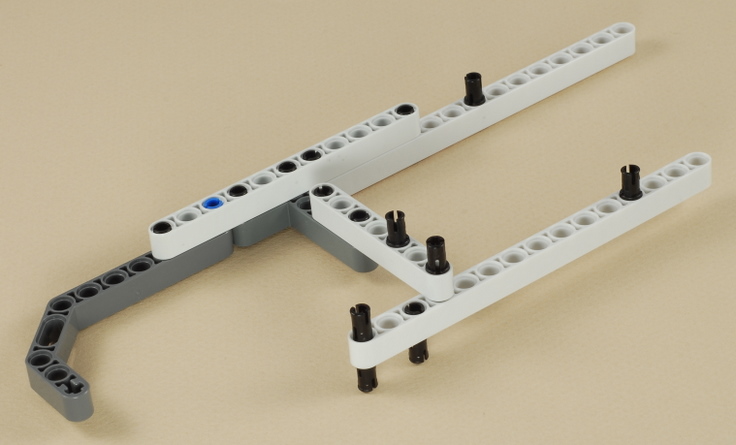
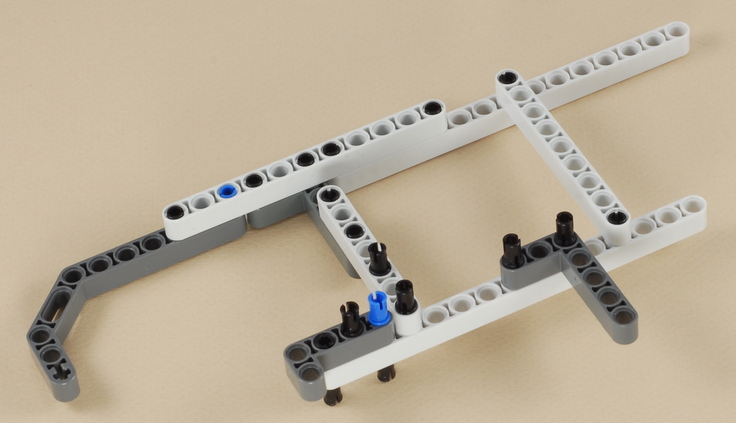
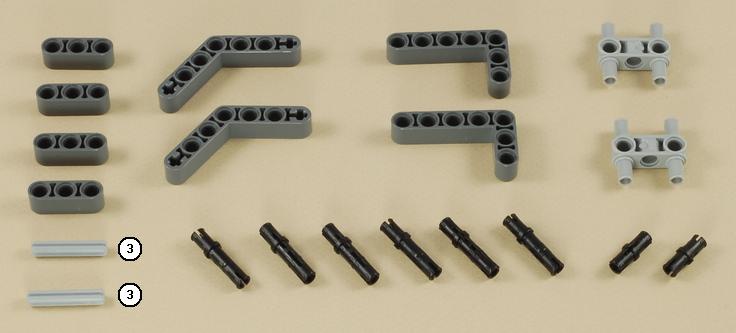
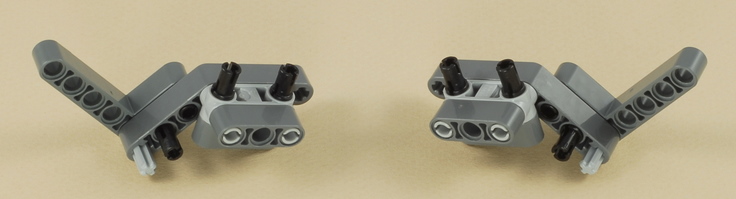
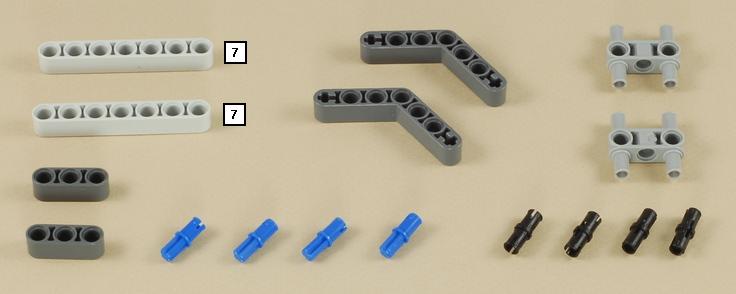
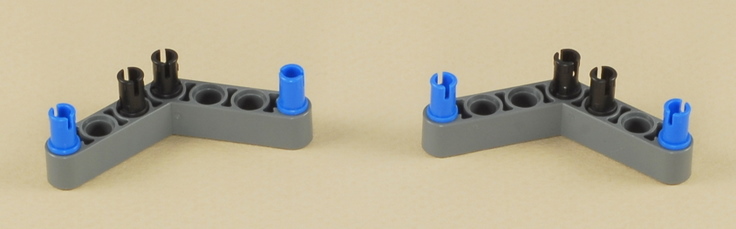
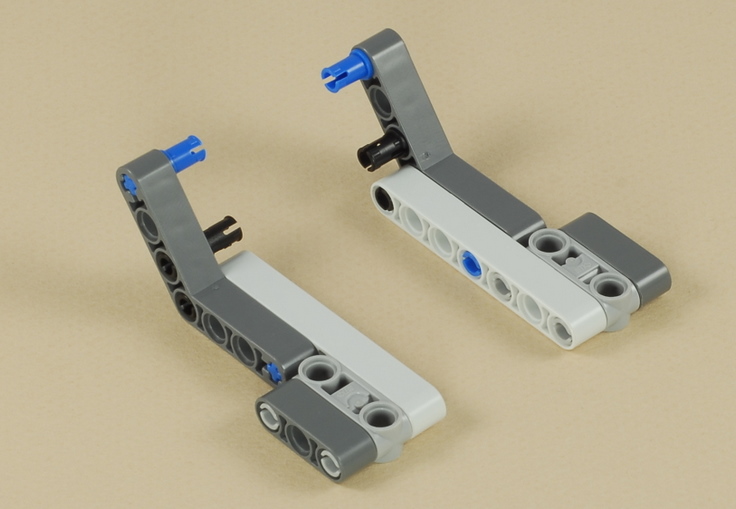
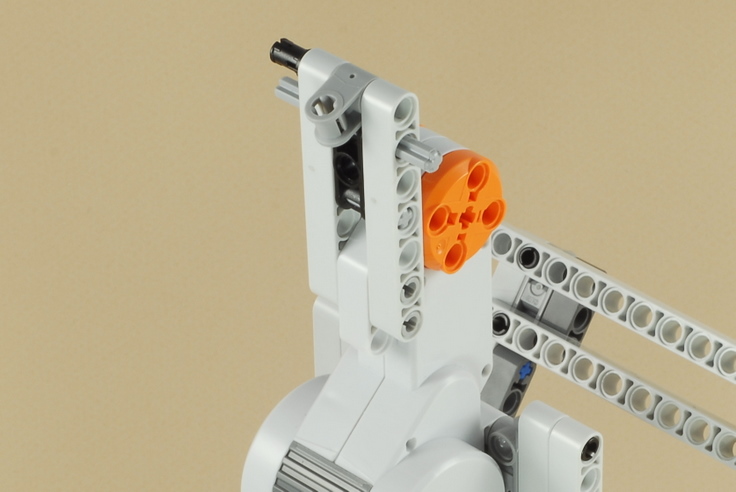
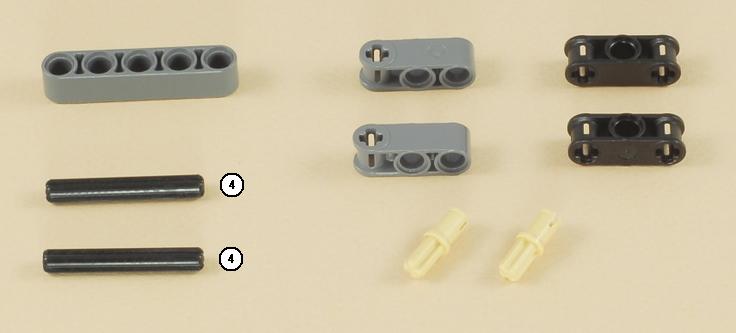
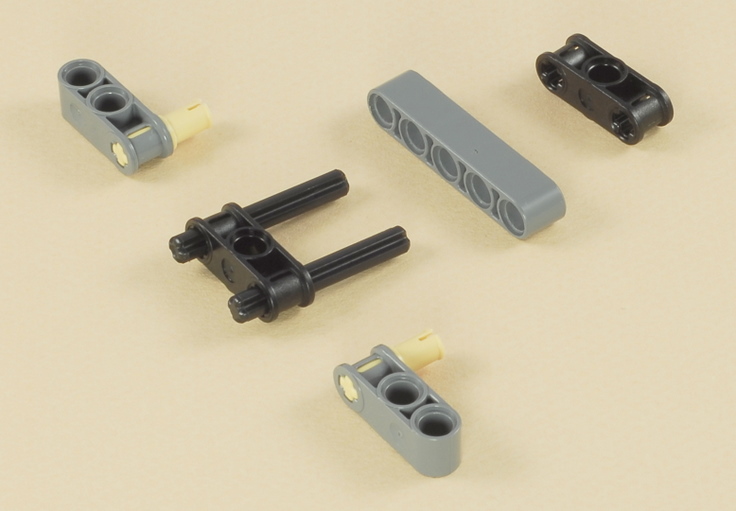
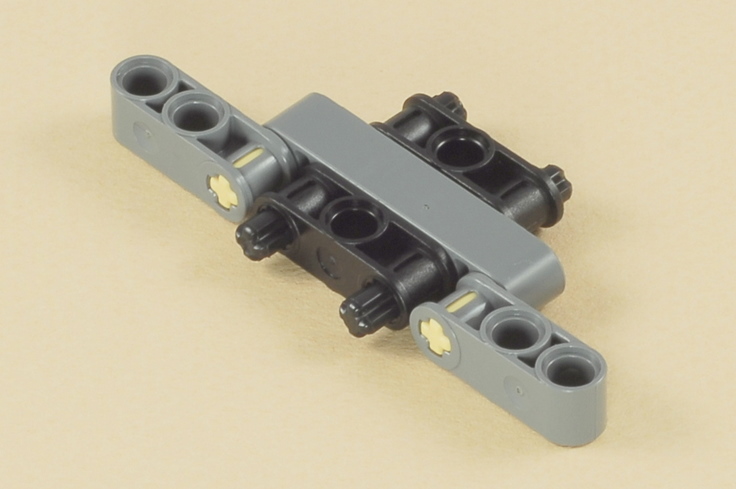
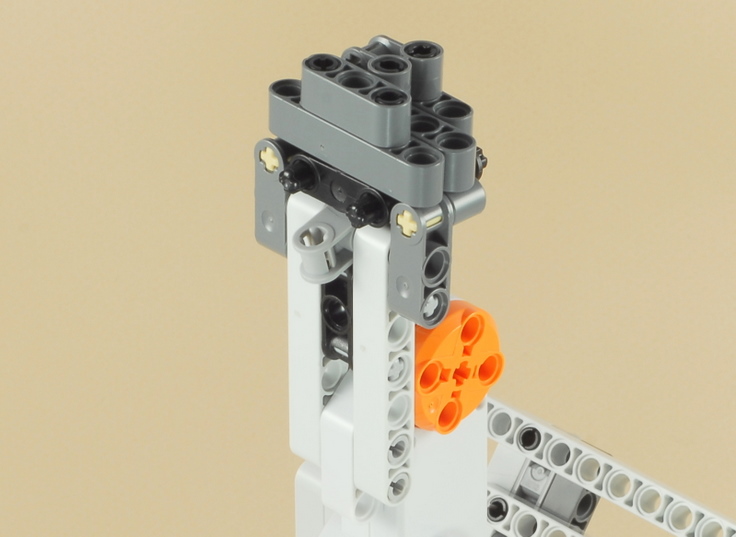
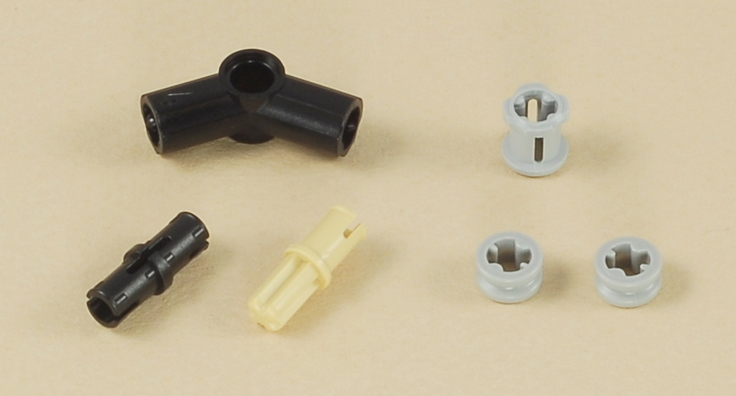
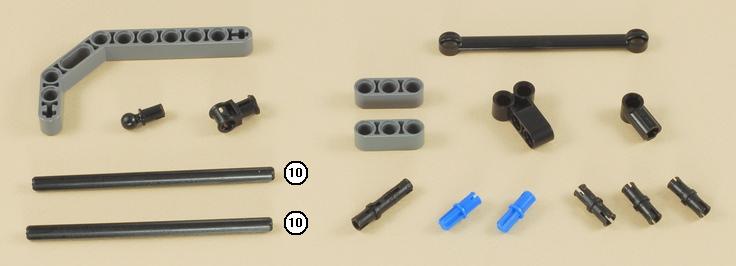
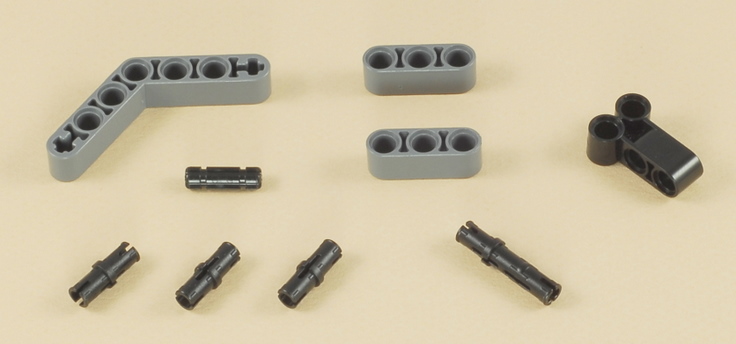
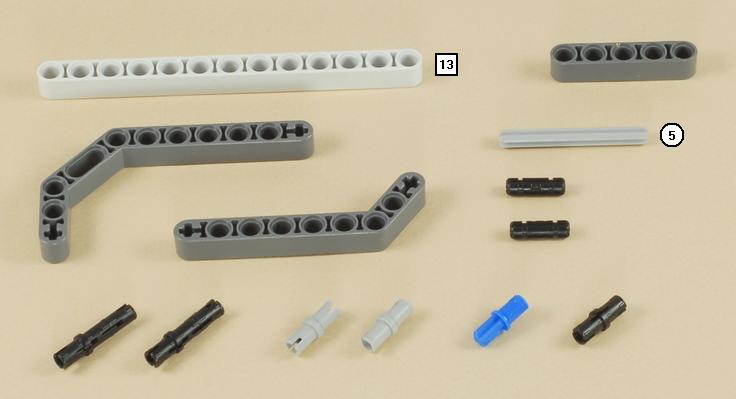
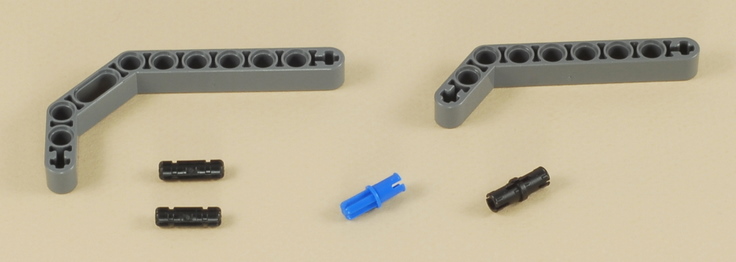
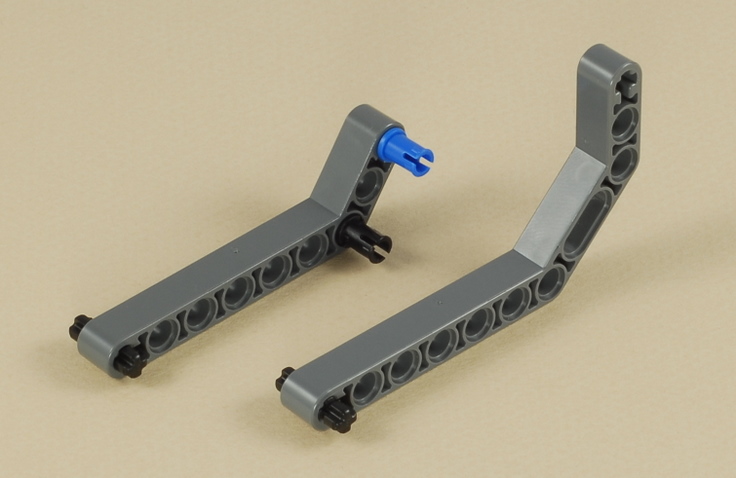
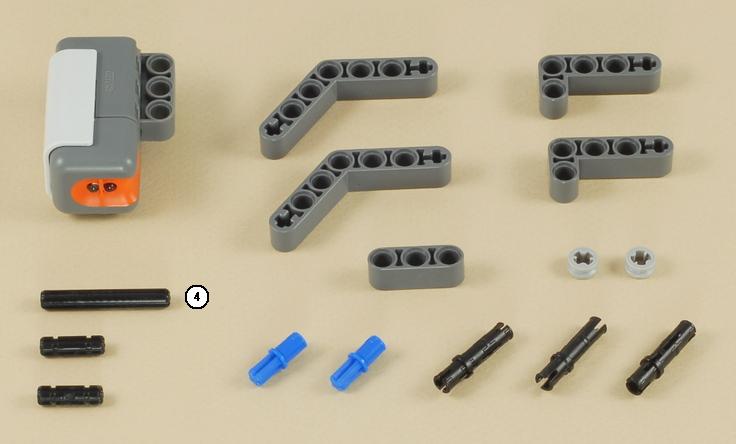
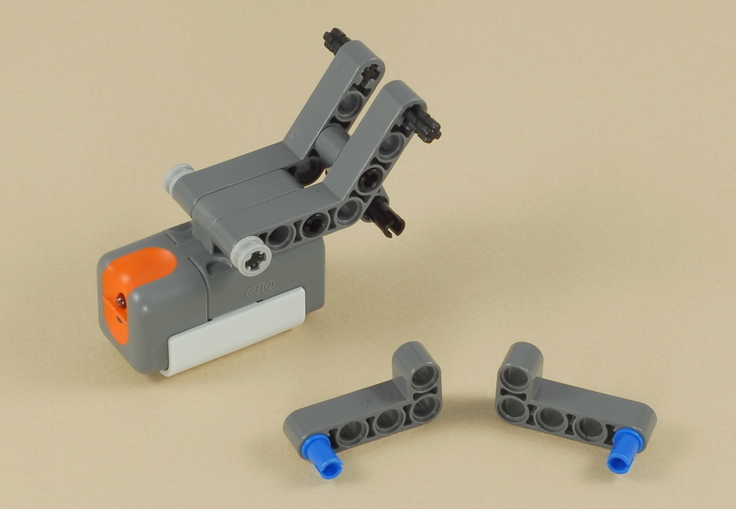
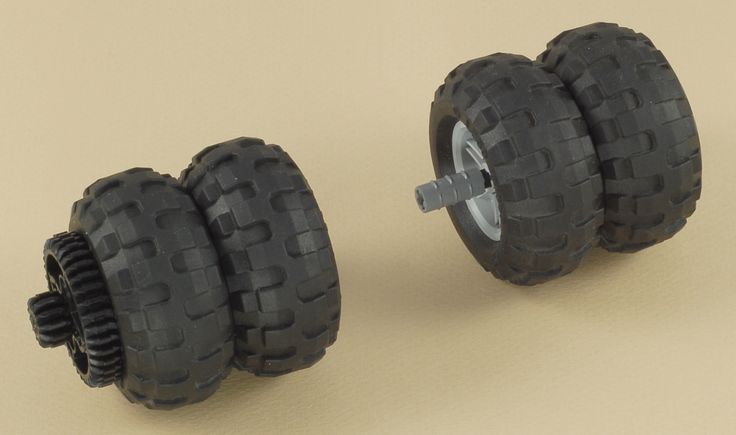
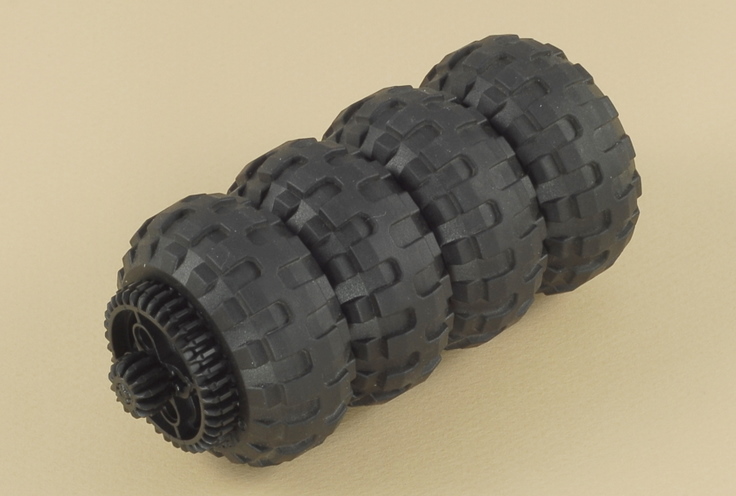
These parts are attached left to right on the model in the same left to right order shown above.
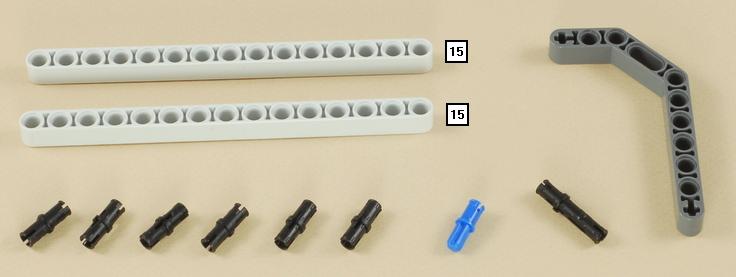
12

13
14

15
16
17
18
19
20
21

22
23
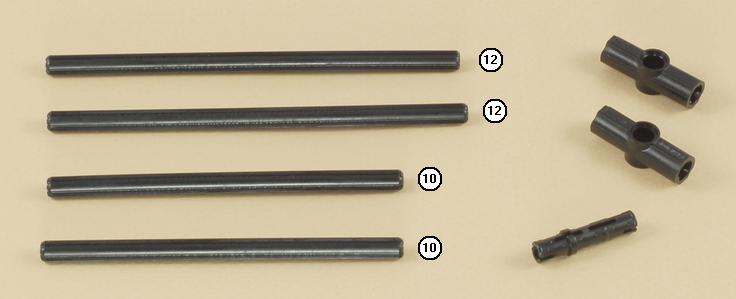

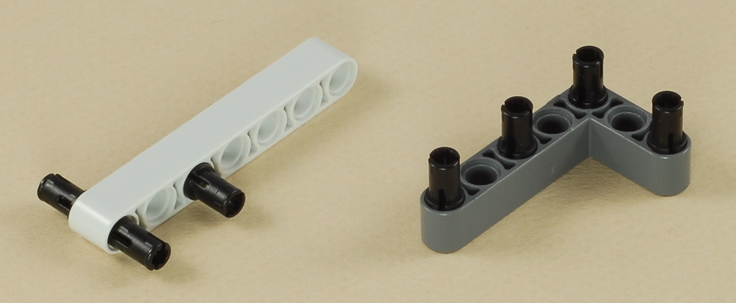
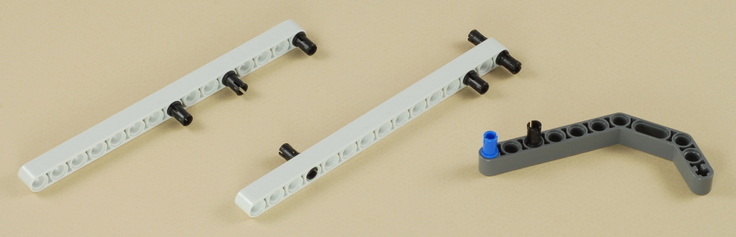
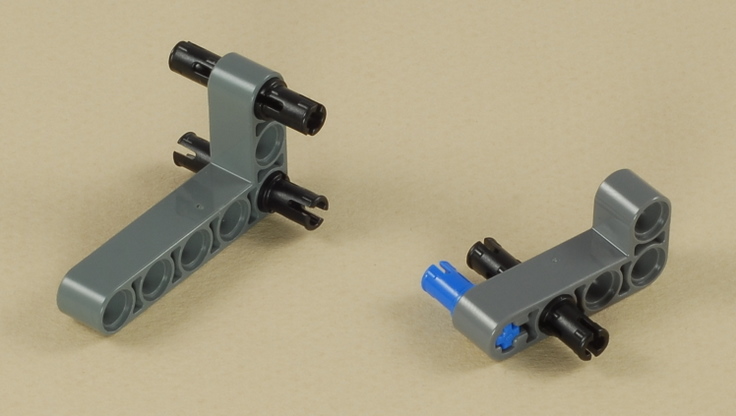
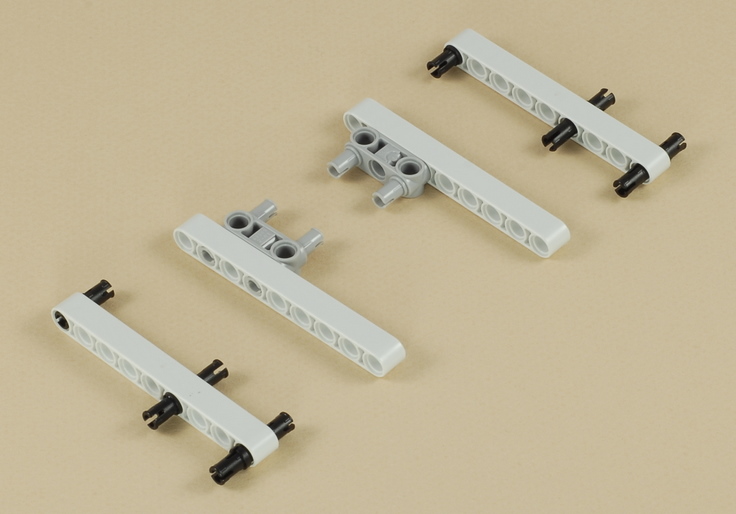
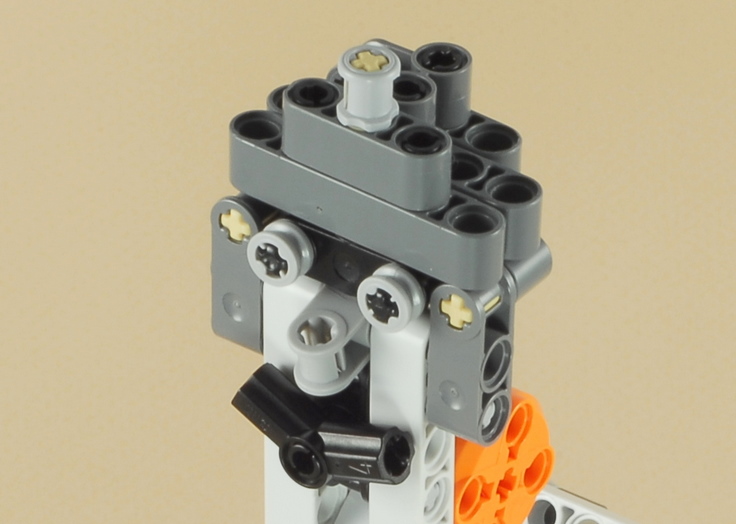
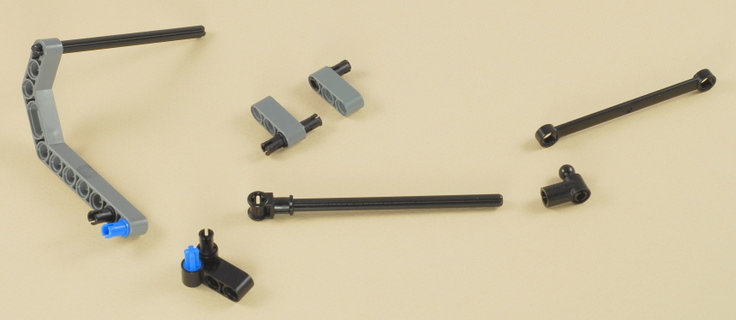
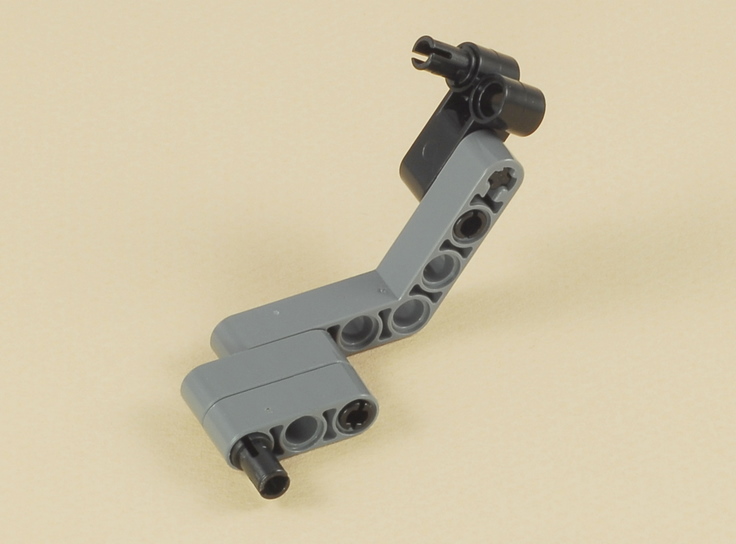
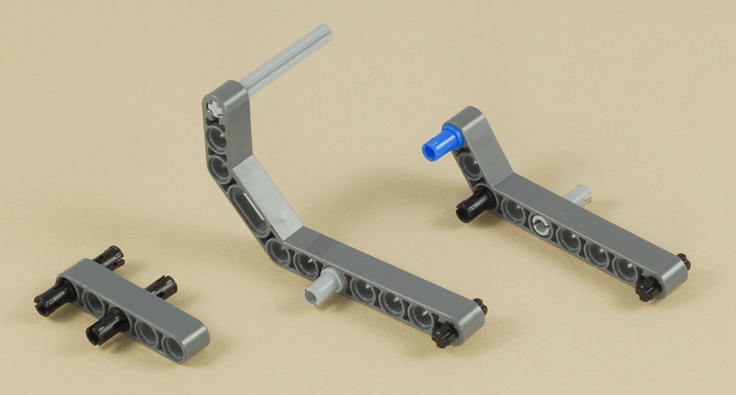
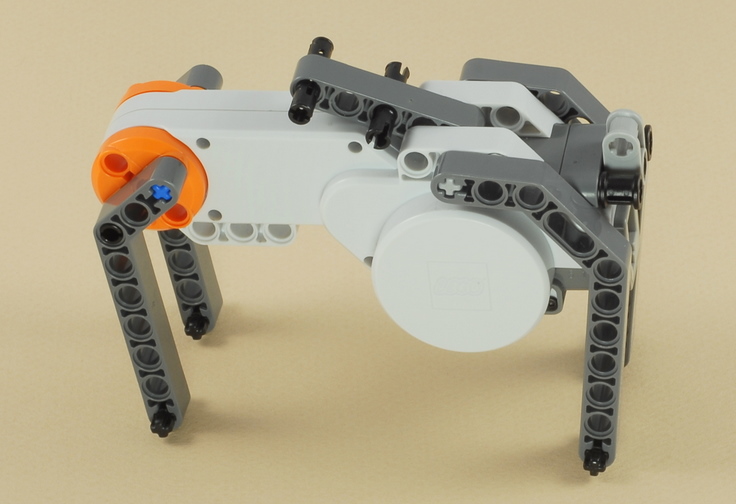
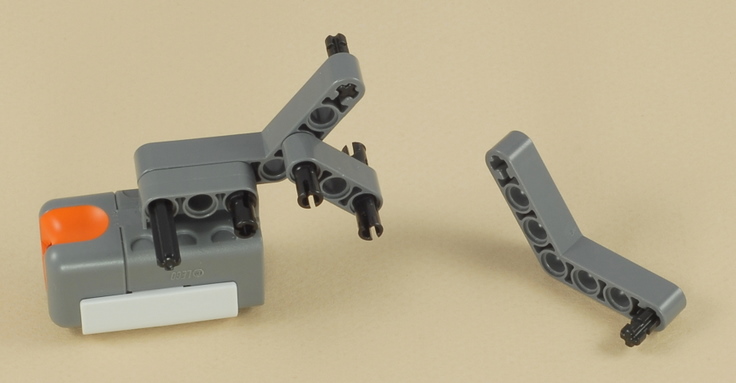
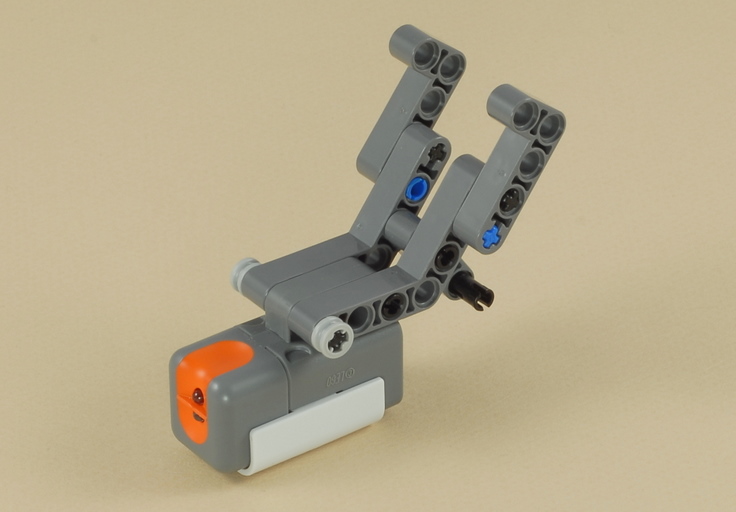
Rotate the axles as necessary until the holes line up so you can put the peg in.
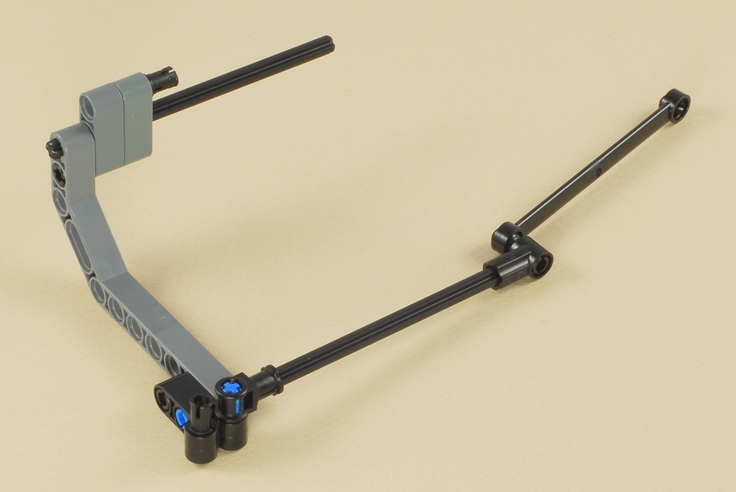
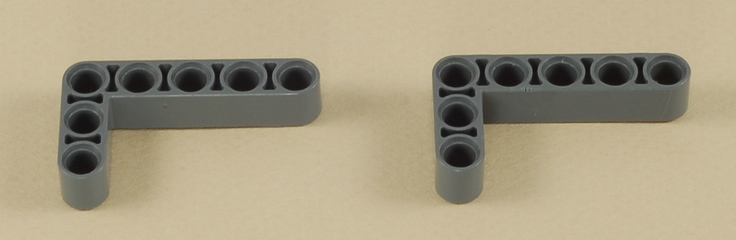
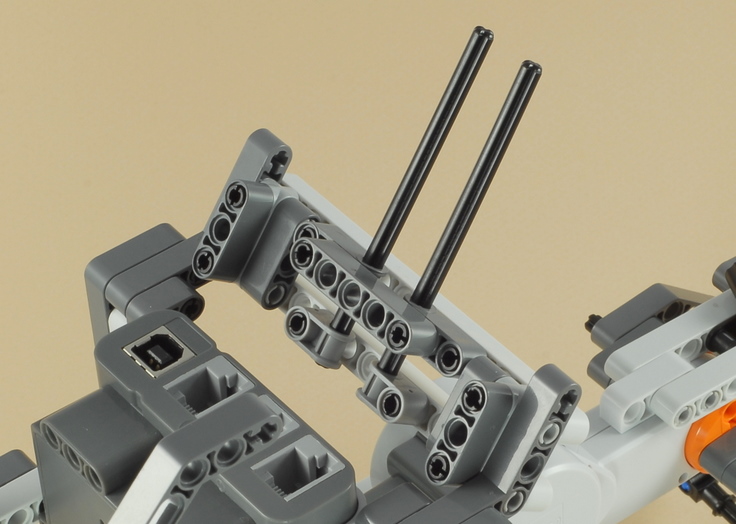
Make sure these two axles go all the way through to both supports, as shown below.
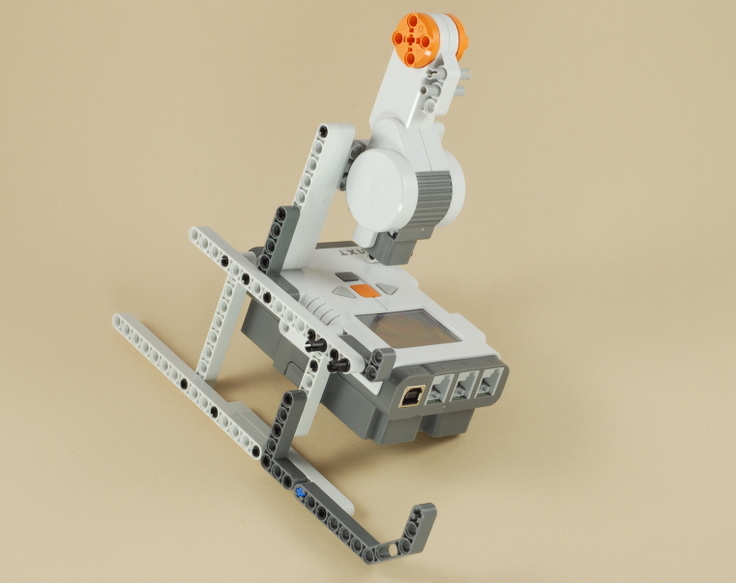
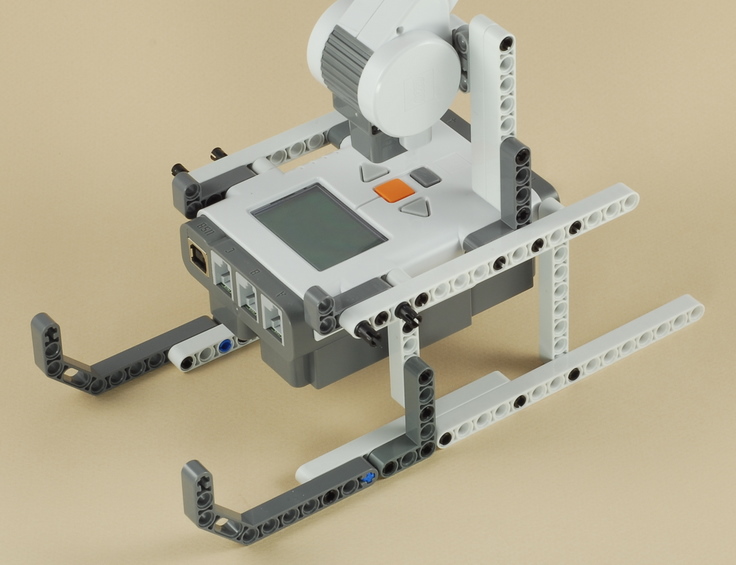
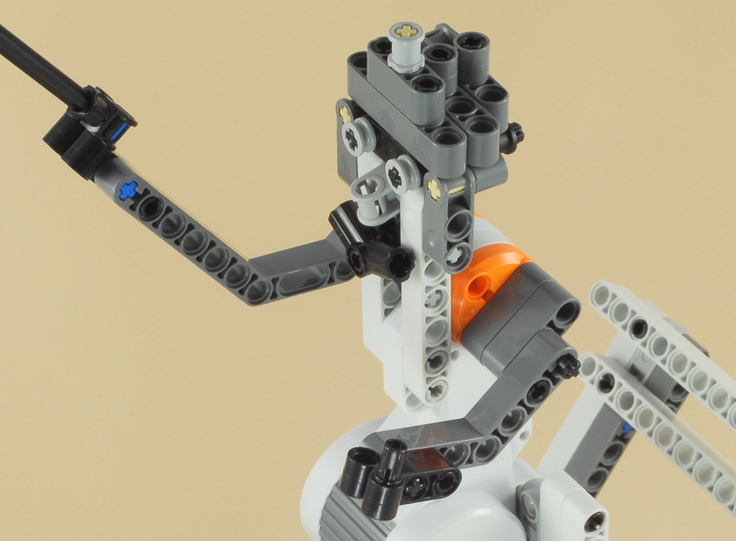
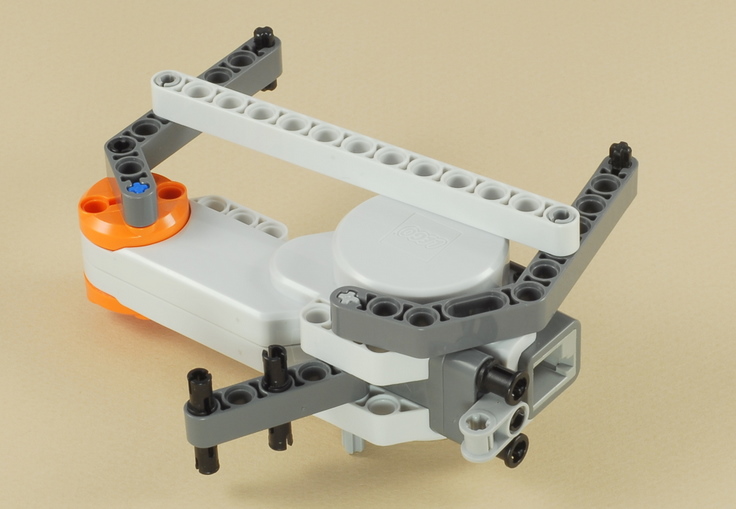
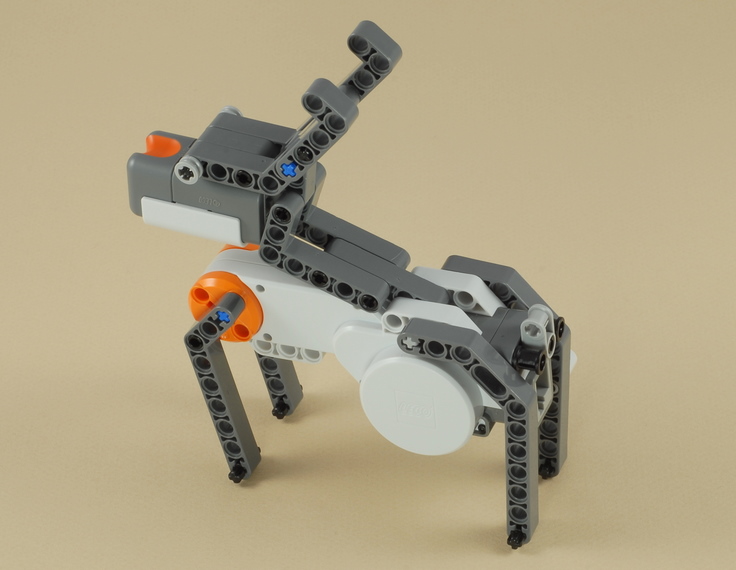
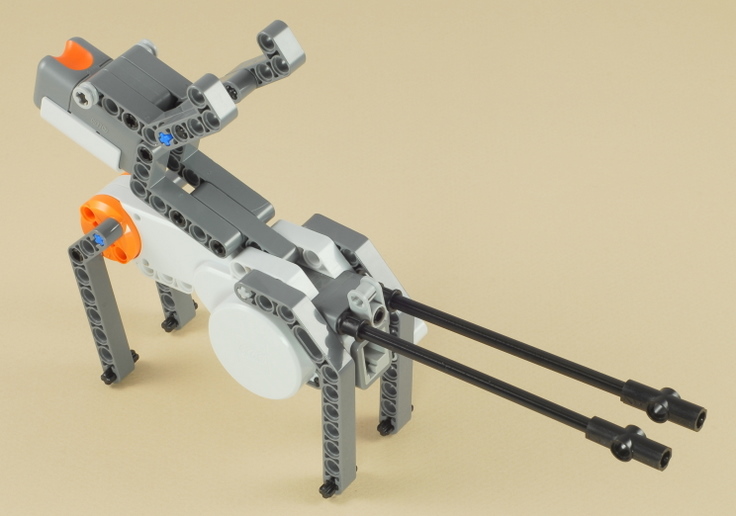
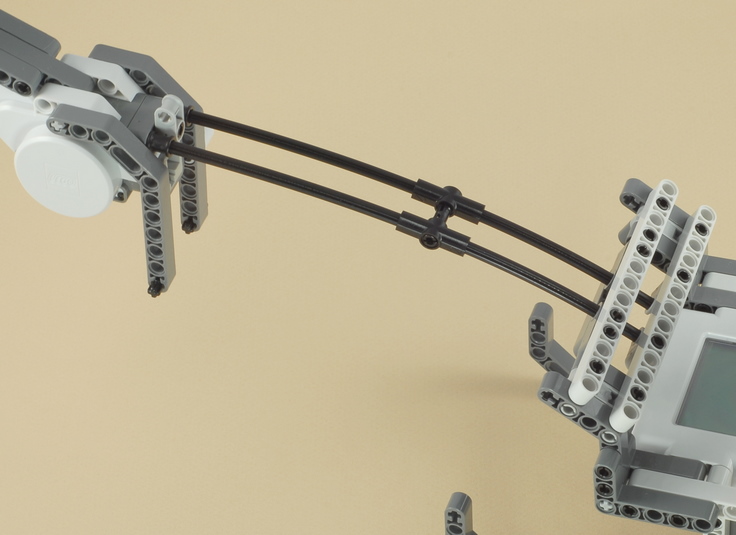
| The axles bend a little under Rudolph's weight, so you should remove Rudolph by unplugging the axles when the model is not being used. This will help keep the axles from staying bent. |
24

25
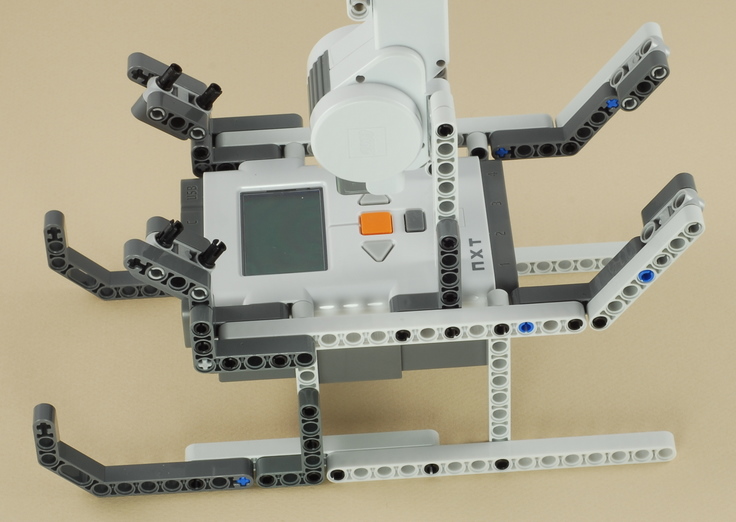
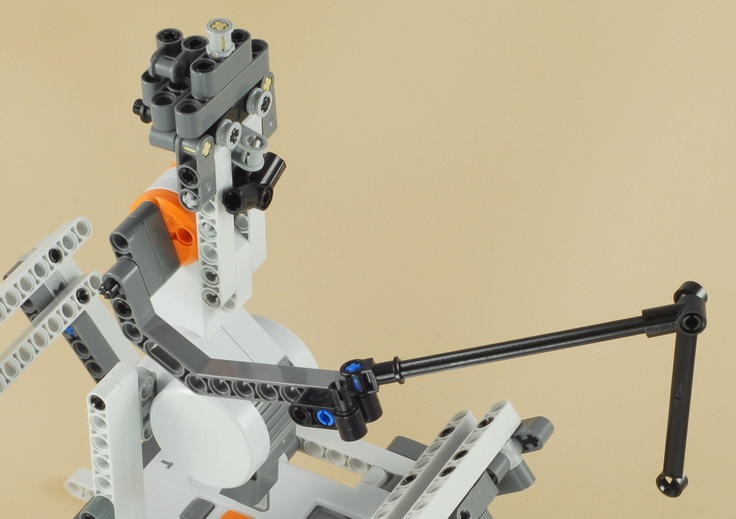
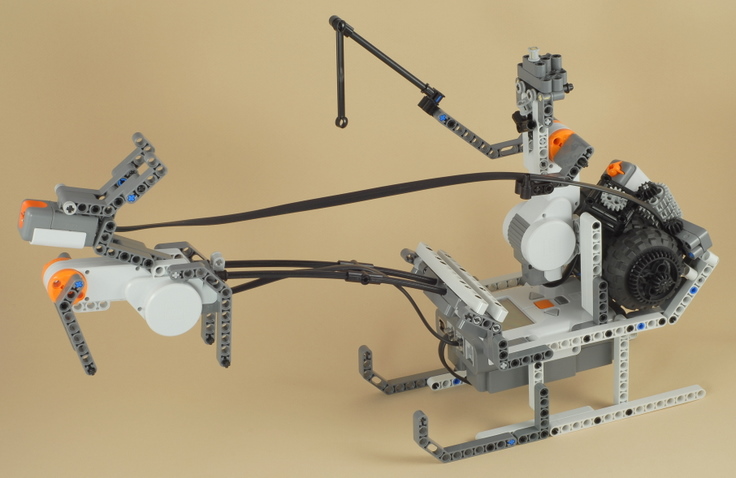
| Use a medium-length wire to connect Santa's motor to
port C on the NXT. You can temporarily remove Santa if you
have trouble getting the wire in under him.
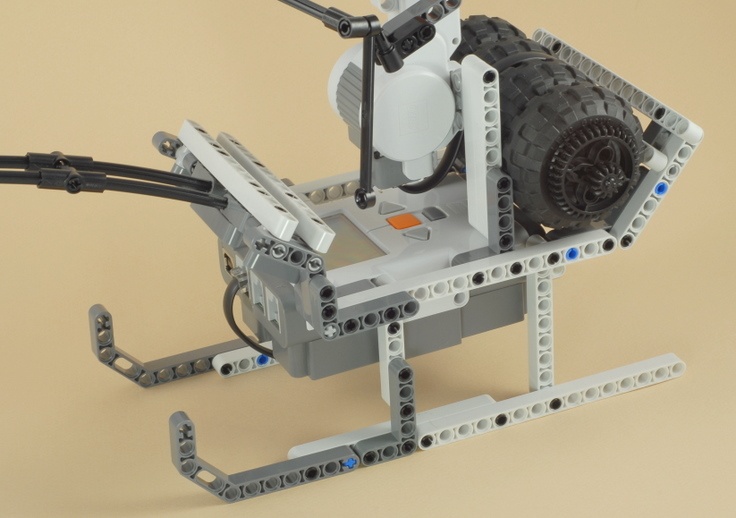
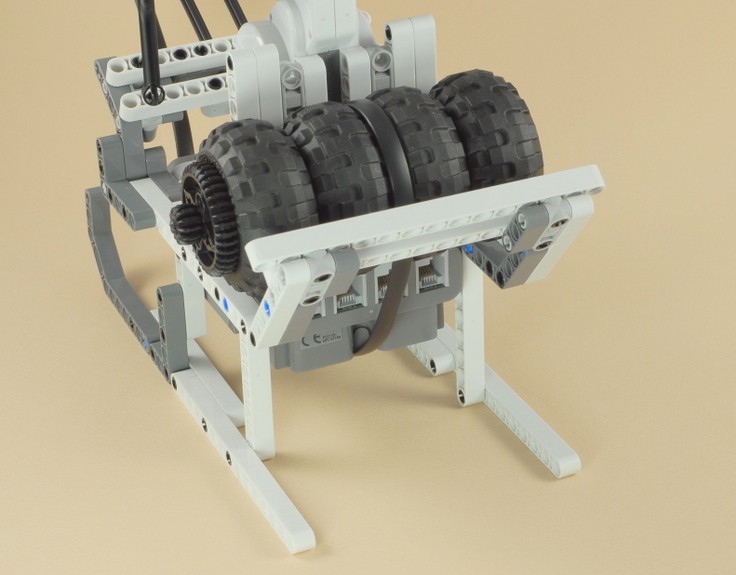
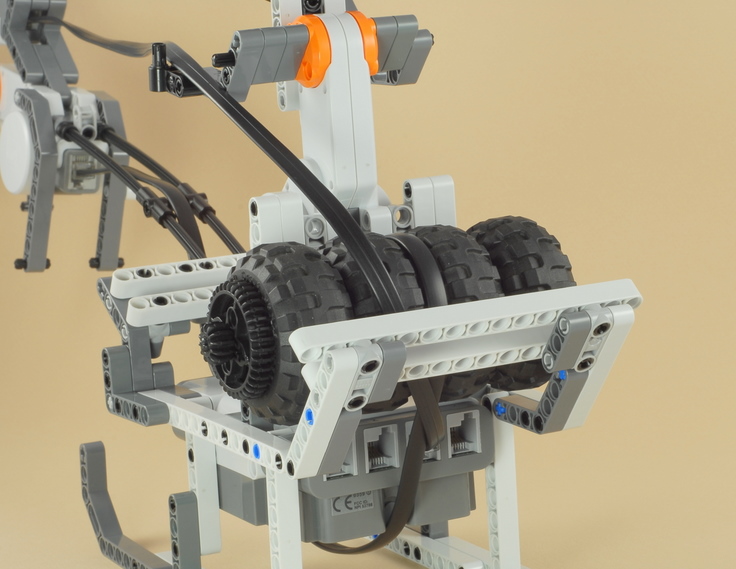
To hide the wire, you can route it from Santa, up and over the sack of toys (tires), then down under the NXT brick, as shown in the two pictures below. This is a tight fit, but it makes it if you push the sack of toys down all the way. |
26
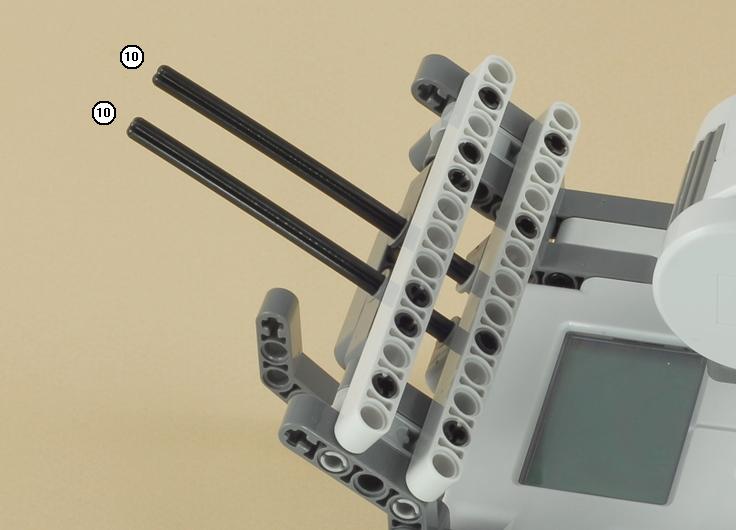
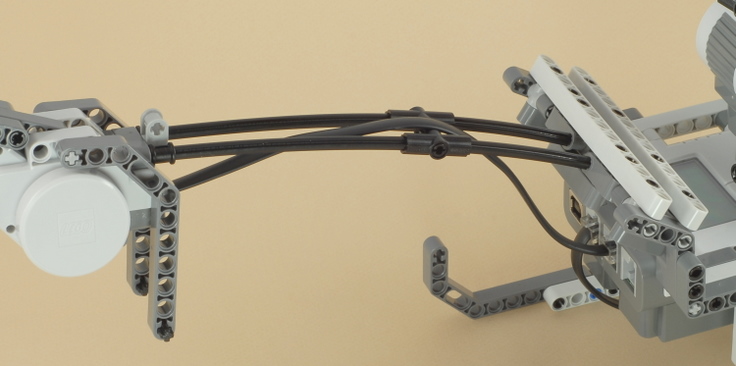
| Use the shortest wire to connect Rudolph's motor to port B on the NXT. You can route it over the peg in the support as shown to help it look better. |
27
| Using the longest wire, connect one end to Rudolph's head (the light sensor), routing it through his neck as shown below. |
| Route the other end of the wire over Santa's left hand (on the inside of the peg), then down behind the sack of toys and into port 3 on the NXT brick. |
28
| (Optional) Design and build some presents to add to the back of the sleigh. Here are some ideas. |
| Santa
and Rudolph Programming Use the program Santa for the Santa and Rudolph project. This program uses a series of tone sounds to play "Jingle Bells" at the same time that it controls the motors to make Santa and Rudolph move. |
Using Santa and Rudolph
|
Challenges
|
|
|
Copyright
©
2007-2011 by Dave Parker. All rights reserved. |