Fun Projects for your LEGO® MINDSTORMS® NXT!
|
|
Fun Projects for your LEGO® MINDSTORMS® NXT! |
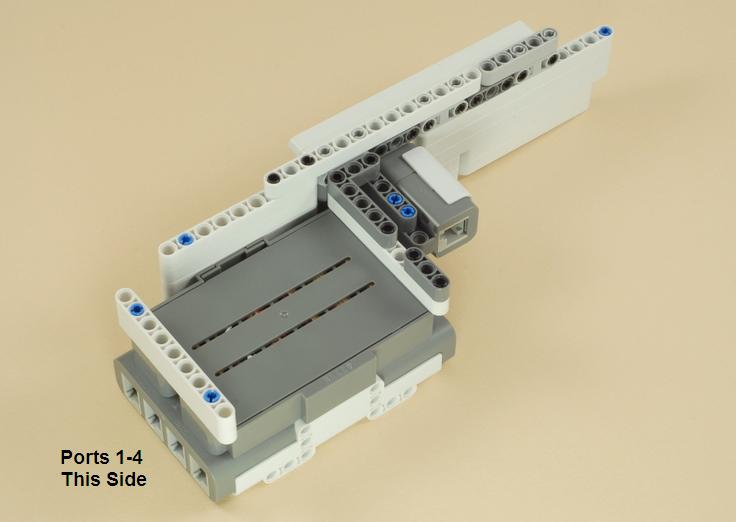
| Checkout Scanner |
|
![]()
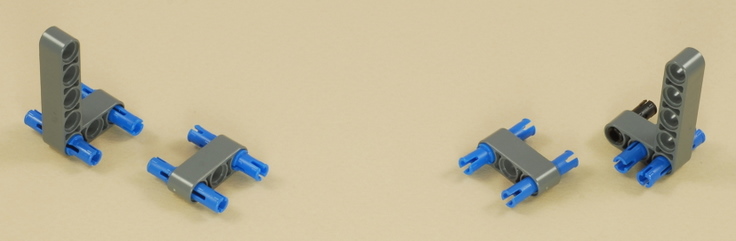
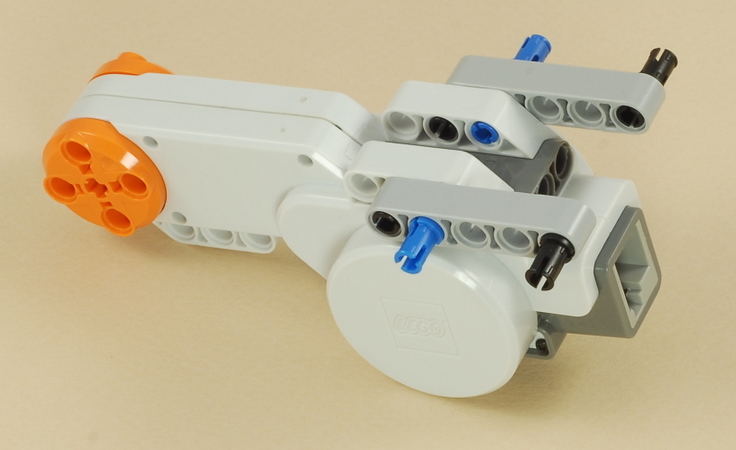
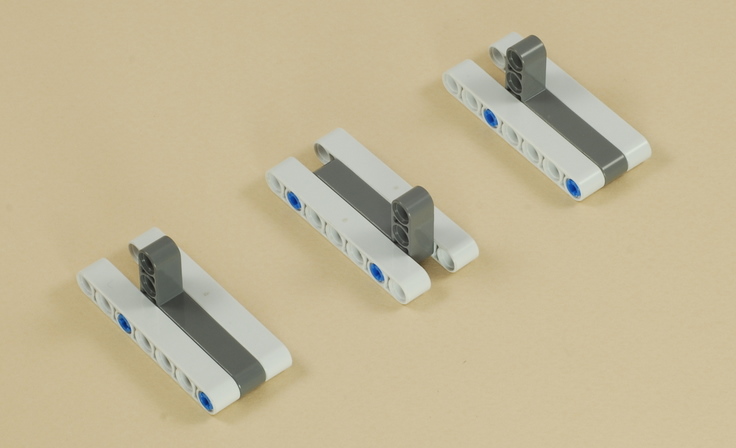
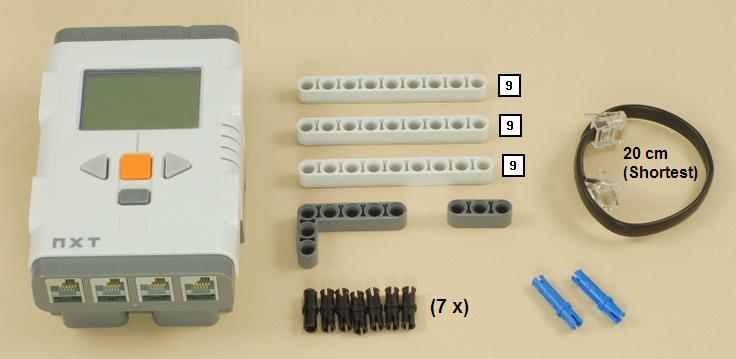
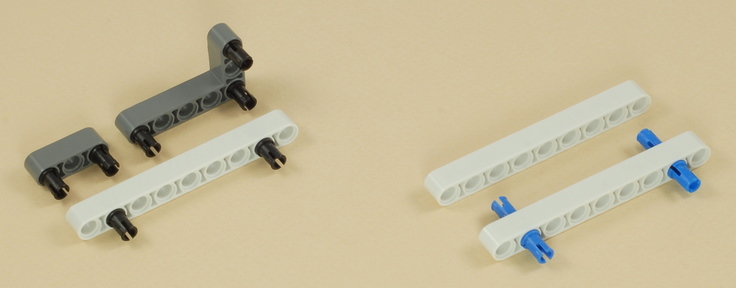
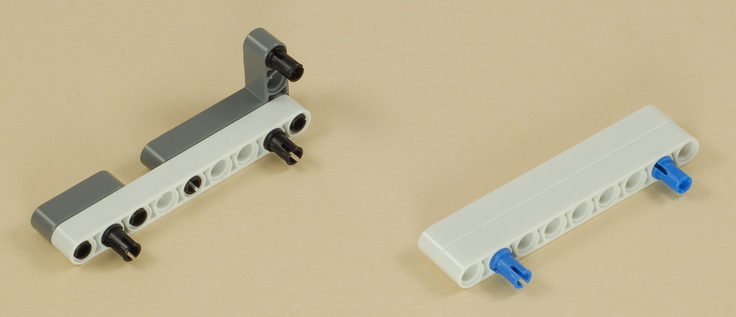
1

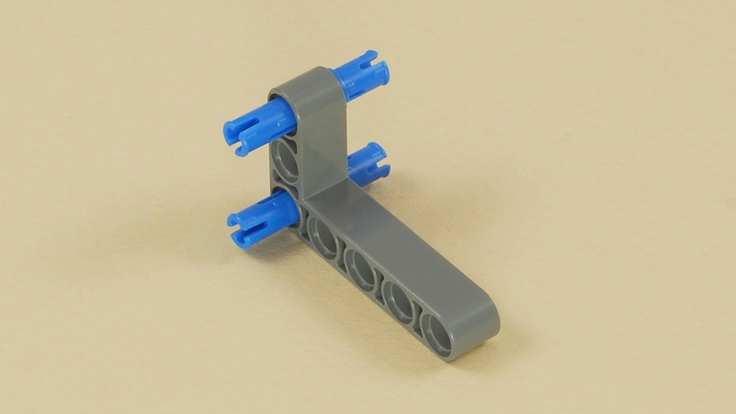
2
3
4

5

6


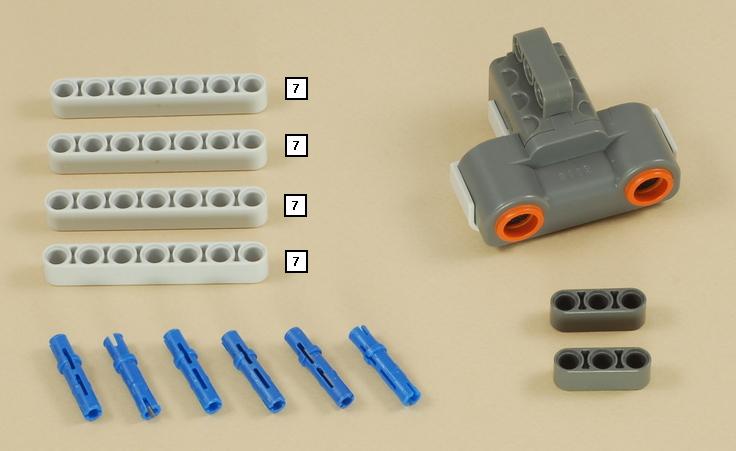
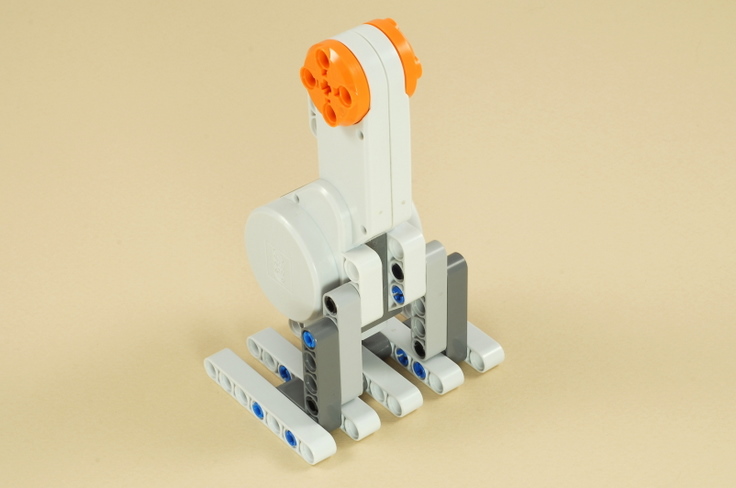
7

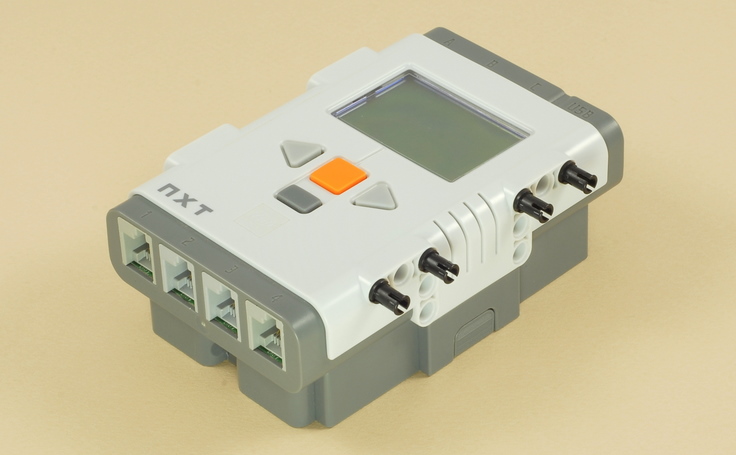
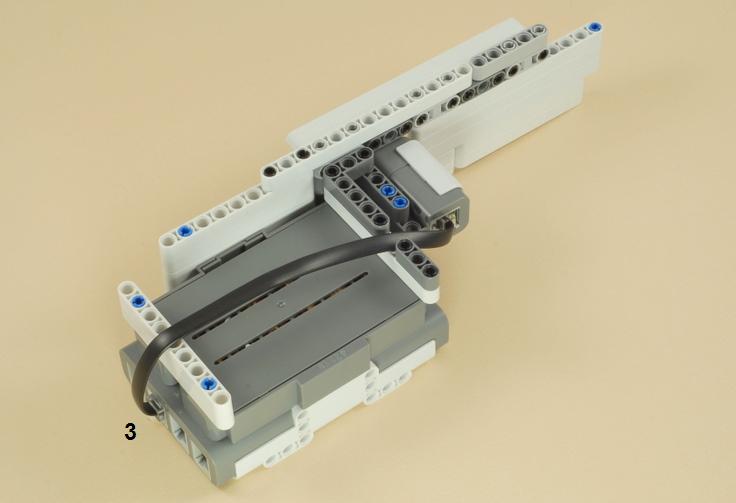
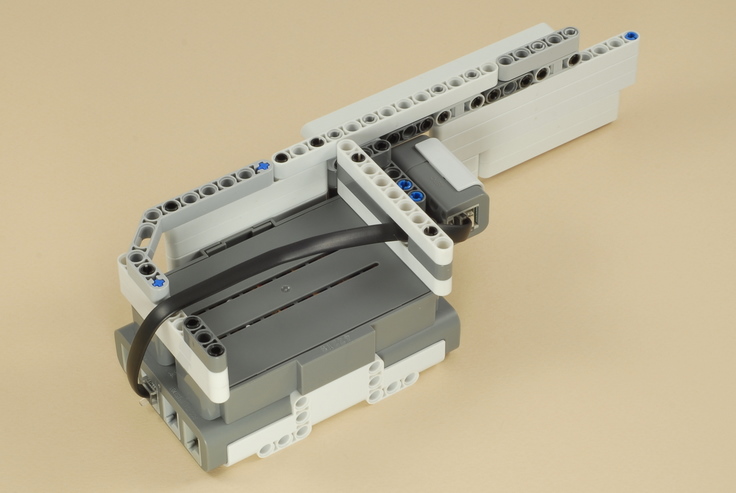
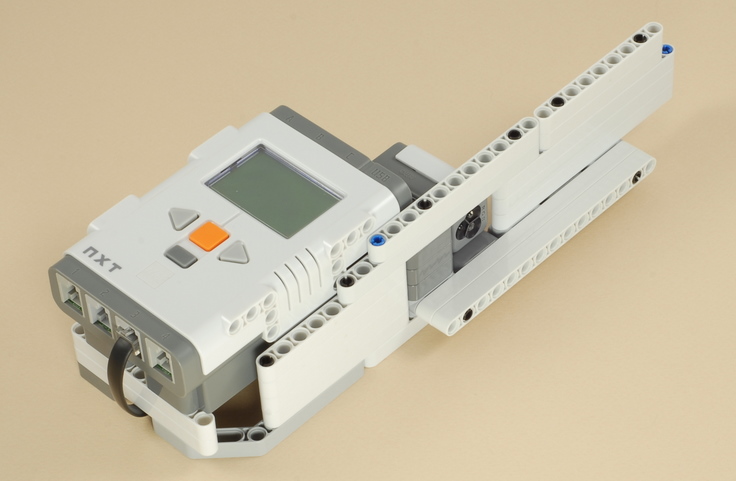
| Note: You can use the NXT with either the rechargeable battery pack or AA batteries. |
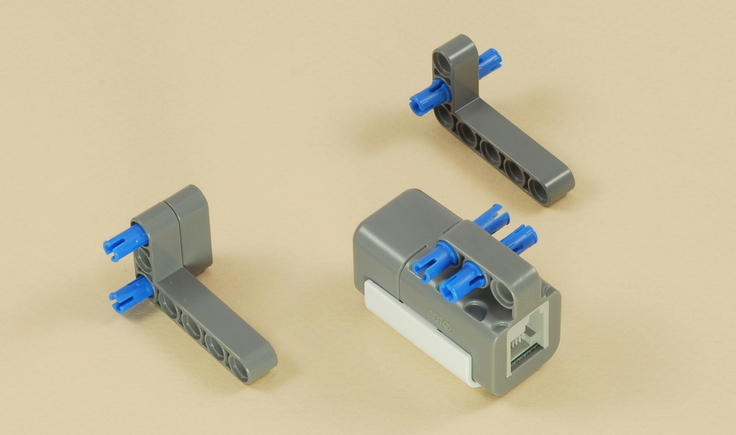
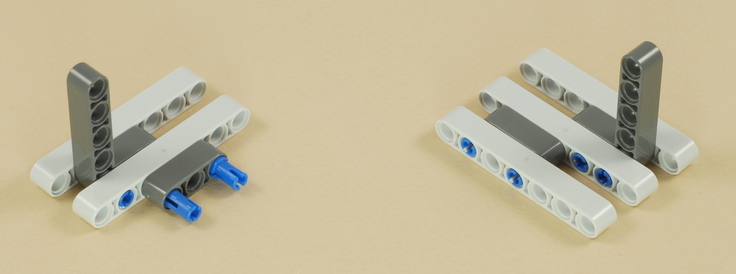
8
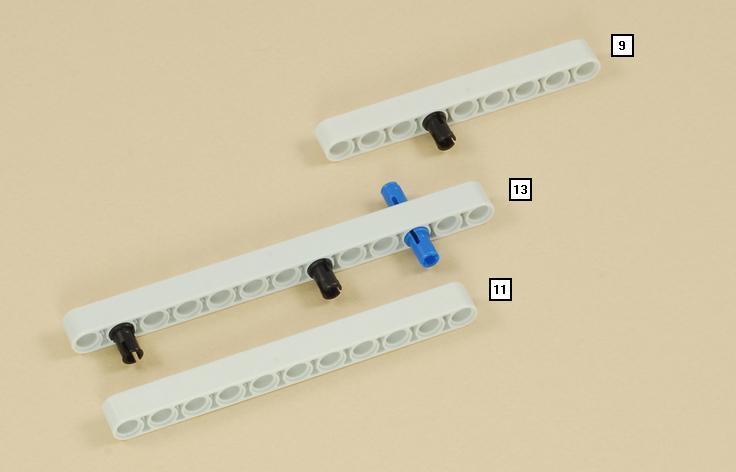
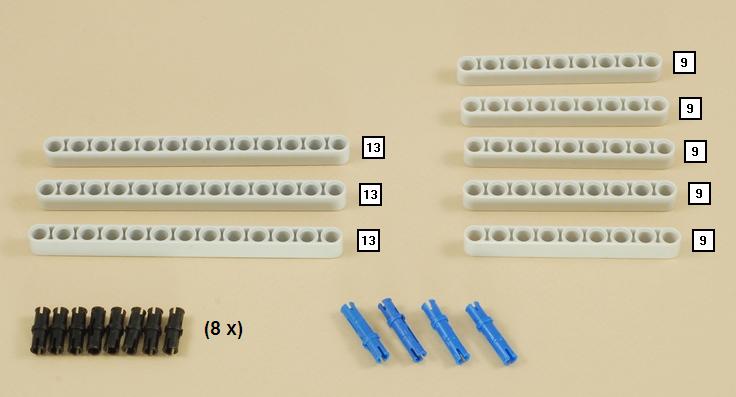
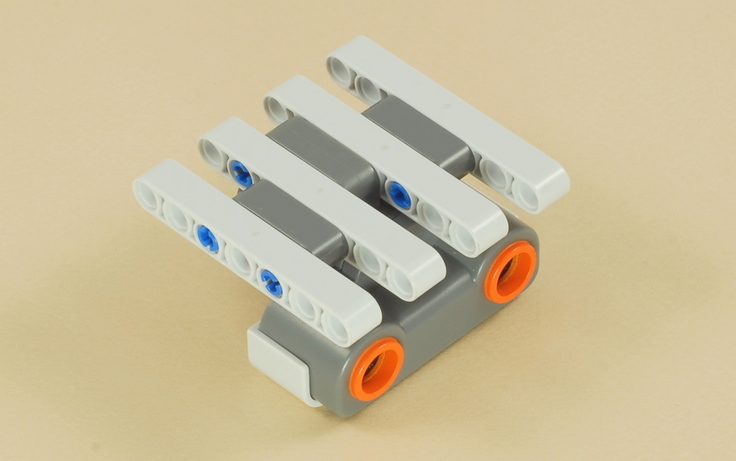
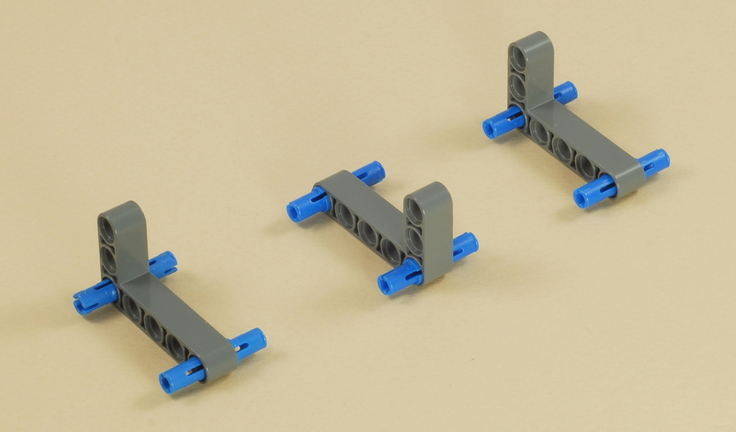
9
10
11
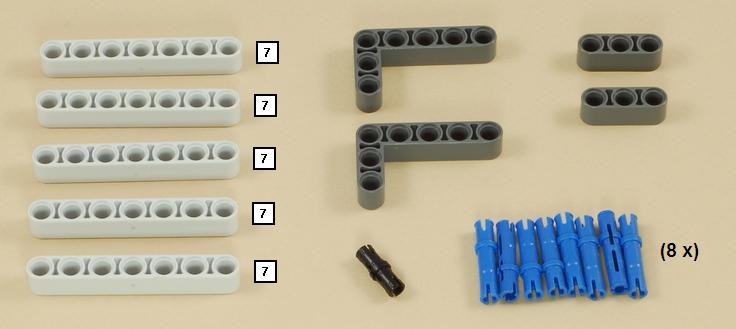
12

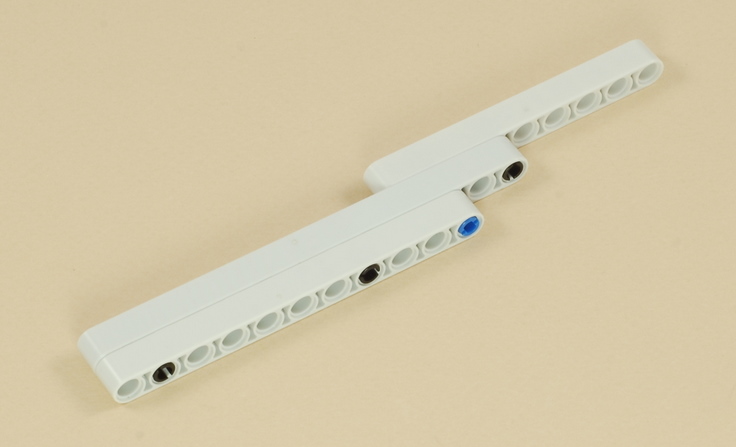
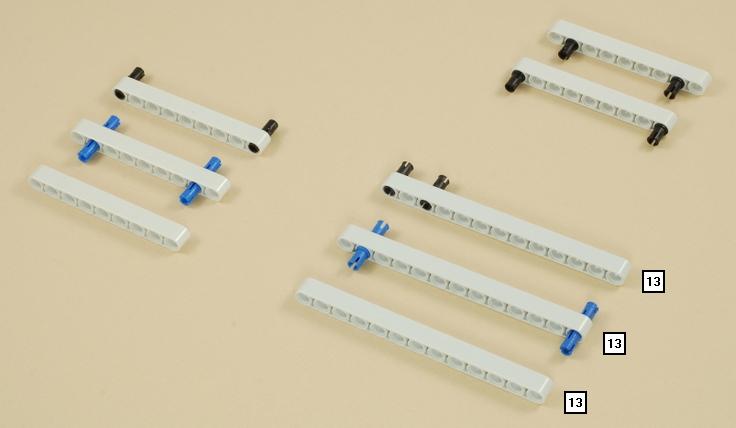
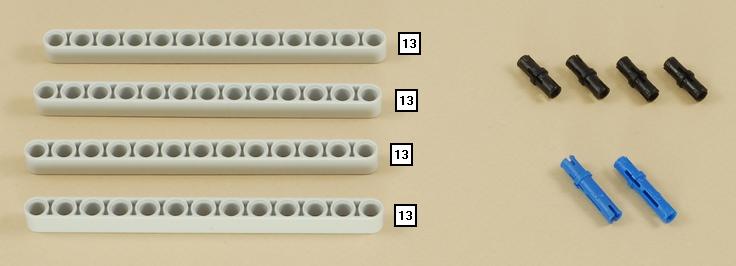
13
14
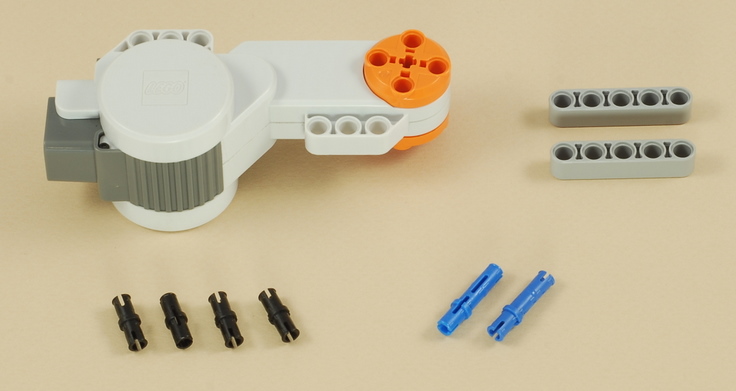
15
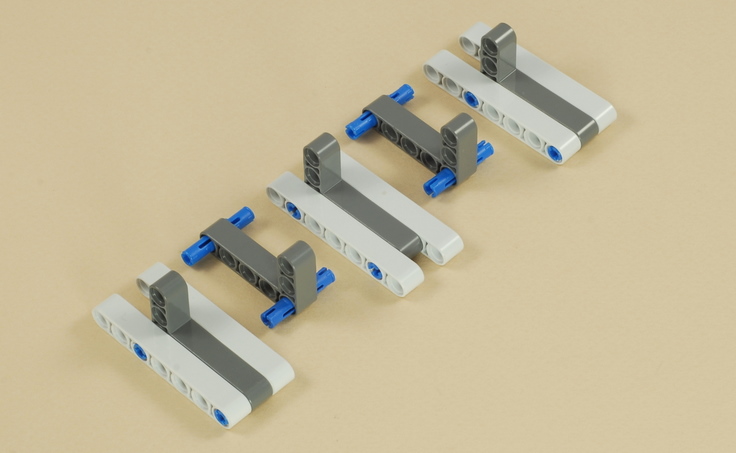
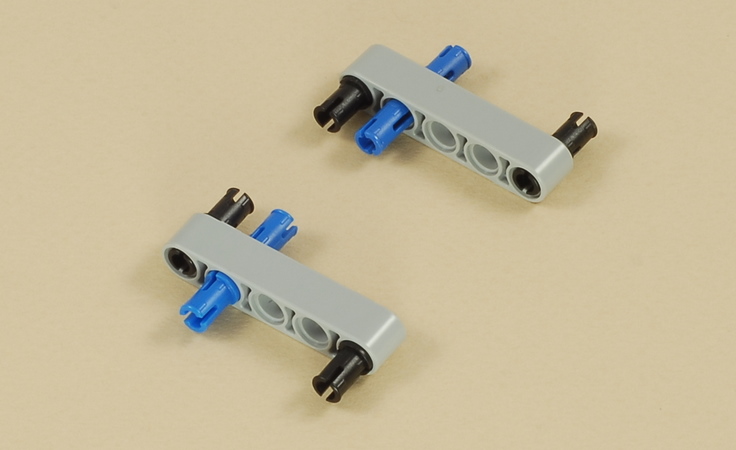
16
17
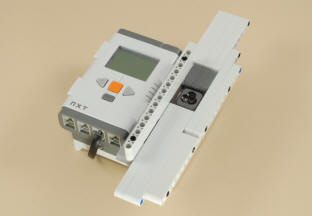
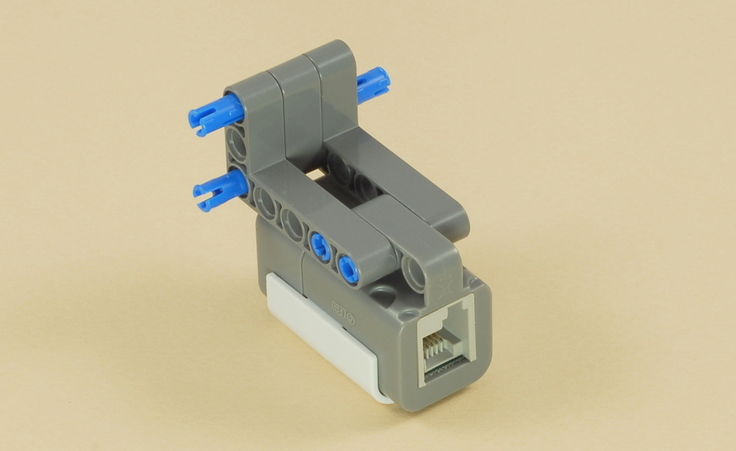
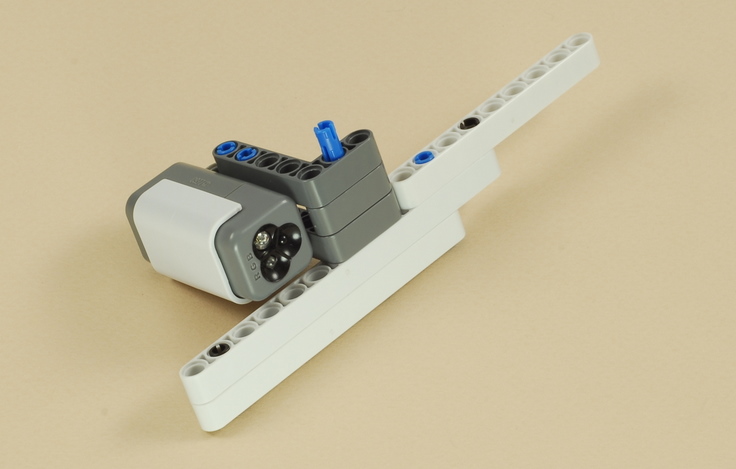
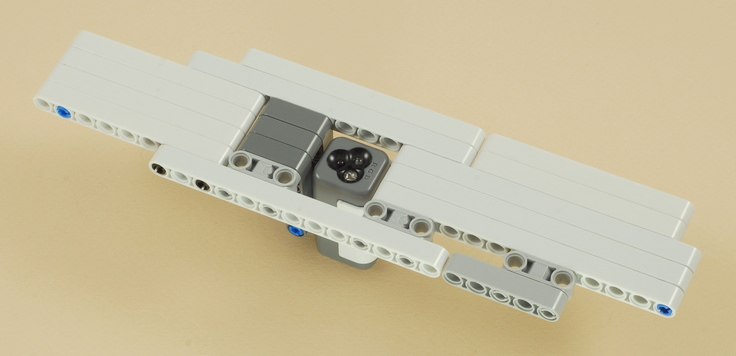
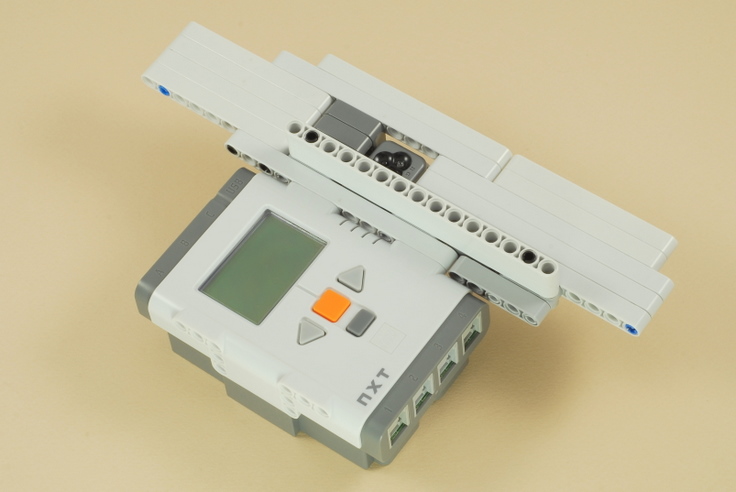
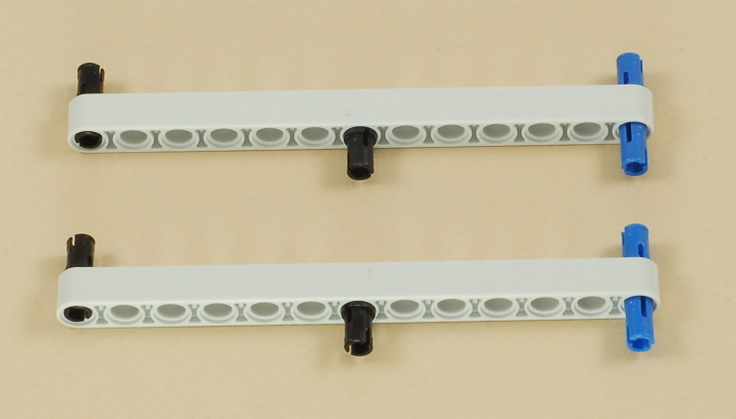
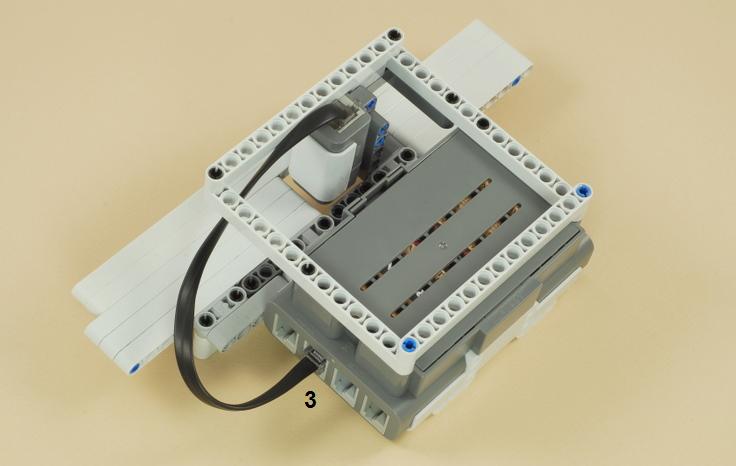
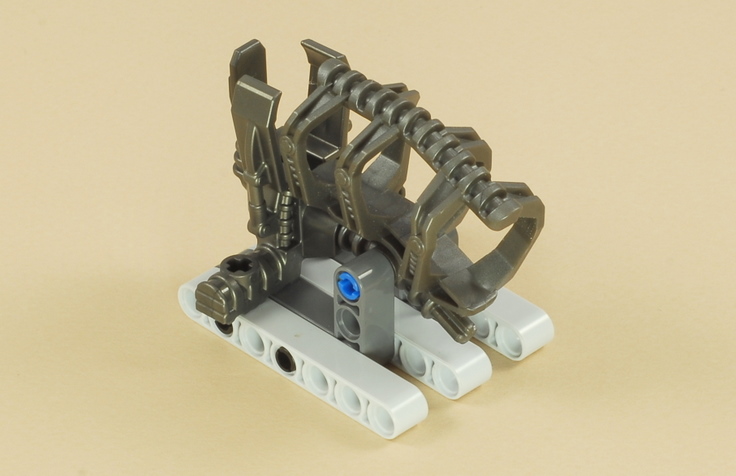
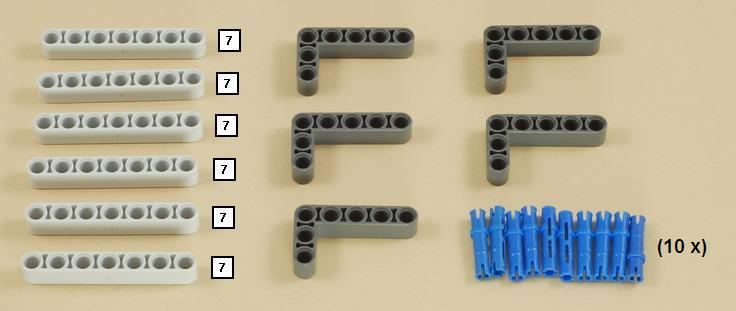
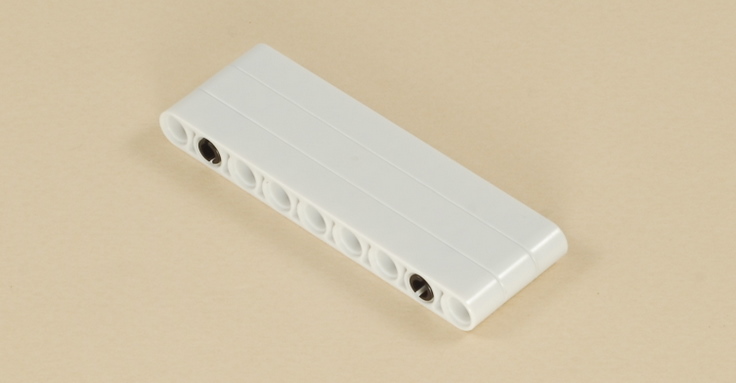
| This step builds the Calibration Plate, which is used at the beginning of the program to calibrate the brightness of the white beams as seen by the color sensor. |
|
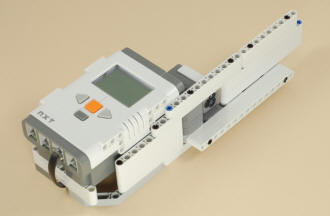
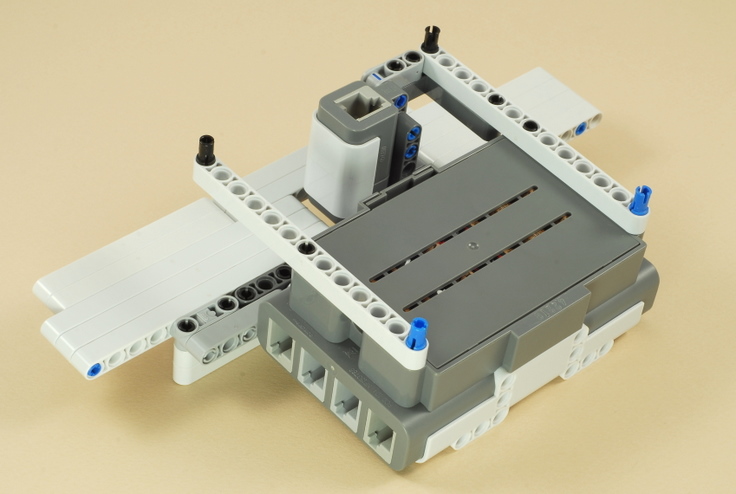
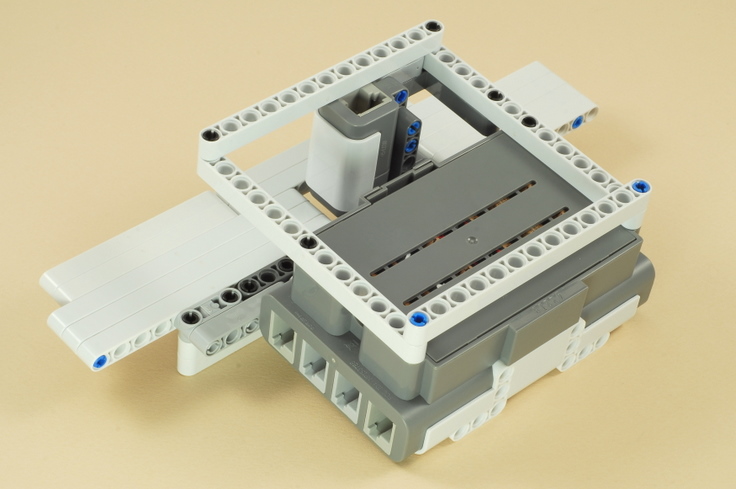
Checkout Scanner Programming Use the CheckoutScan program for the checkout scanner. At the beginning of the program, you are instructed to cover the sensor with the Calibration Plate, as shown below, and then press the Enter button, so that the program can measure the brightness of the white beams.
When scanning items, you need to complete a scan in less than a second, and also make sure that the white bars of the bar code are perpendicular to the swipe direction, so that they can be counted as they pass over it. If the scanner counts only one white bar during the scan time, it assumes an item was scanned incorrectly and gives an error tone.
Avoiding Interference from Overhead Lights The CheckoutScan program works by detecting and counting the white beams in the "bar codes" of the objects, and it does this with a simple brightness test, using the color sensor in "Light Sensor" mode. Therefore, it needs the brightness of the white beams to be significantly more than an empty background reading. If there are overhead lights in the room directly over or near the scanner, the background reading may be too bright, leading to objects not being scanned, or an invalid scan (error sound). If this happens, there are two things you can do:
Graphing the Sensor Readings on your Computer When working with a sensor
that returns continuous readings, and when you are rapidly taking
different data samples, it can be helpful to see a graph of the readings
as received by the sensor, to help you understand how fast the sensor is
responding and what kinds of values are being returned in different
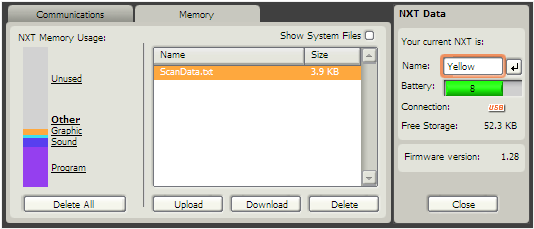
situations. The DataLogLight program is a "data logging"
utility program that you can use to record readings from the color
sensor in light sensor mode in a data file on the NXT. This may
help you when writing your own programs that use sensors. The
instructions that follow describe how you can upload this data file to
your computer and graph it using a spreadsheet program.
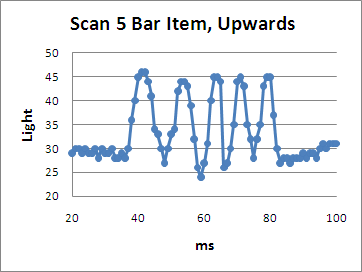
An example graph drawn using
Microsoft Excel on a PC, from data collected while scanning the "Motor"
item (5 white bars) is shown below.
To use the DataLogLight program and create a graph, you can do the following:
|
Challenges
|
1-5
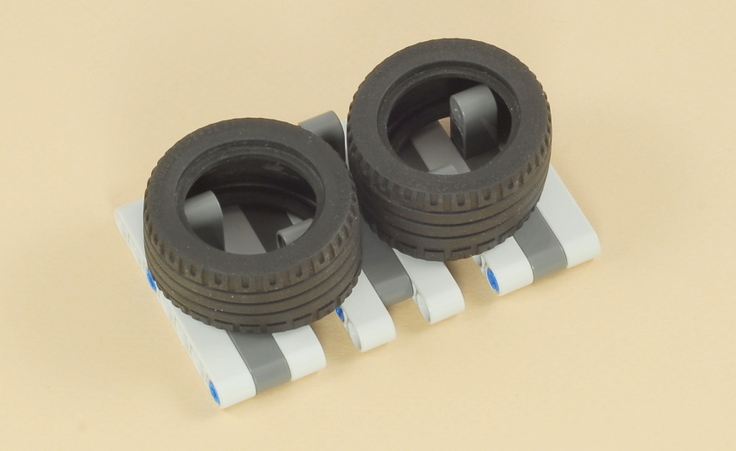
| Follow steps 1-5 from the main instructions above, or take apart steps 6-9 of the upward-facing scanner to get the base scanner table as shown below. |
6a
| Note: You can use the NXT with either the rechargeable battery pack or AA batteries. |
7a
|
Copyright
©
2007-2011 by Dave Parker. All rights reserved. |